Aeropress: How to make Consistently Delicious Coffee
During my first year of working at Starbucks, my newfound obsession with coffee became pretty apparent to those around me. I frequently posted on social media and talked to anyone who would listen about all the things I was learning. My family took note and bought me coffee related things for Christmas that year, including an Aerobie Aeropress. I really struggled with producing consistent results for the first couple of months until I learned a good recipe. Since then, it secured its place at the top of my list for favorite brew methods thanks to its consistency, easy brew method, and simple clean up process.

Coffee and Frisbees
Let's say you happen to be in the market for a record holding flying disc or other sports toys. If that's the case, you may find yourself at Aerobie.com, where you will be greeted with two options: Aeorbie Sports Toys or the Aeropress Coffee Maker. I don't know why, but I find that incredibly amusing. Inventor and Stanford University lecturer Alan Adler released the first Aeropress in 2005 after a personal quest to make a better individual cup of coffee. Since then, the coffee industry took the simple plastic device and ran with it. The official recommended method brews a cup of coffee by producing a concentrate* diluted with water. Baristas and coffee drinkers took this original method and came up with their own recipes. They created a culture around the versatility and ingenuity expressed by the large variety of recipes.
* The original documentation calls the Aeropress an espresso maker. However, the Aeropress cannot technically brew espresso, which by definition requires the use of steam in the brew process.
Standard or Inverted?
The World Aeropress Championship, a competition dedicated to Aeropress recipes, breaks down recipe styles into two categories: Standard and Inverted. The Standard, or Upright, style keeps the brewer in its original orientation. This style allows for some gravity assisted filtering before pressing and requires the plunger to be in place to allow for additional steeping time. The Inverted, or Upside-down, style, on the other hand, flips the brewer upside down with the plunger in place. This style primarily utilizes immersion to extract before filtering under pressure. The two methods are nearly identical in their ability to extract. The real variance comes down to the individual recipes themselves.

Aeropress Science
Thanks to pressure driven extraction, the Aeropress makes it possible to circumvent some traditional rules when brewing. In a drip system, water should make contact with the grounds for approximately 4-5 minutes and measure between 195 to 250 degrees Fahrenheit. The Aeropress can achieve proper extraction with brew times as low as 30 seconds and temperatures as low as 175 degrees Fahrenheit. The application of pressure makes that possible. Pressure increases the efficiency of solubility reducing the need for both time and heat. Learn a little more about solubility here, under "The Science Behind Cold Brew". The shorter brew time also increases pH, which makes for a smoother, less acidic final cup.
How to brew using an Aeropress
Now, let's get down to business (if you just started singing Mulan in your head, we should be friends). As I mentioned above, people have come up with a crazy variety of brew methods, you can check out some of them here and here. I'm currently working on understanding how each of the different factors affect the final result, but for now I'll leave you with my two favorite recipes.
Tools Needed
- Aeropress
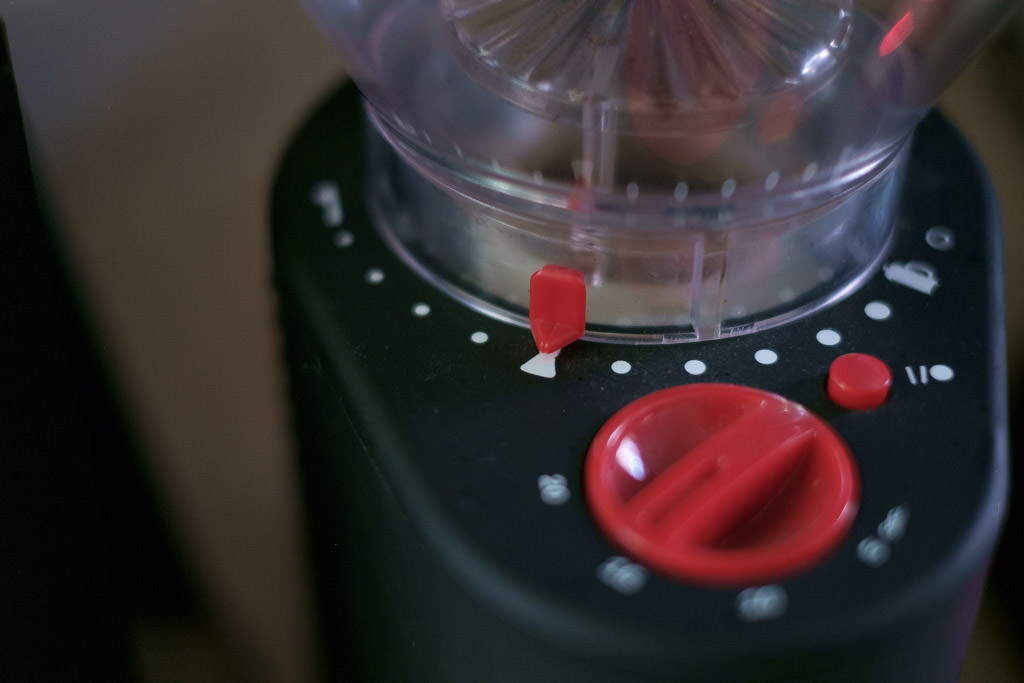
- Variable Temperature Kettle
- Hitting specific temperatures makes the variable temperature really useful. The Aeropress benefits less from the gooseneck design than other brew methods. I still recommend this route though because of how essential it is for other methods.
- Burr Grinder, either manual or electric
- Digital Kitchen Scale
Style: Inverted
Coffee: 14g ground at sand-like coarseness Water: 224g @ 195 degrees F
I came across this method thanks to Intelligentsia's iPhone app.
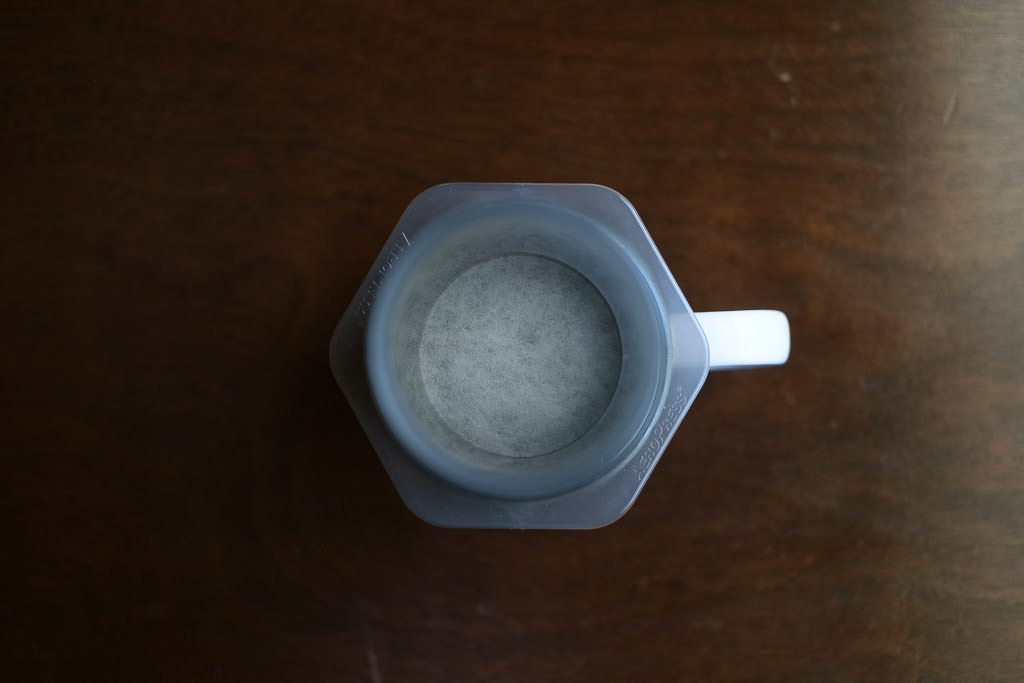
- Pre-heat Aeropress, decanter/mug, and rinse filter
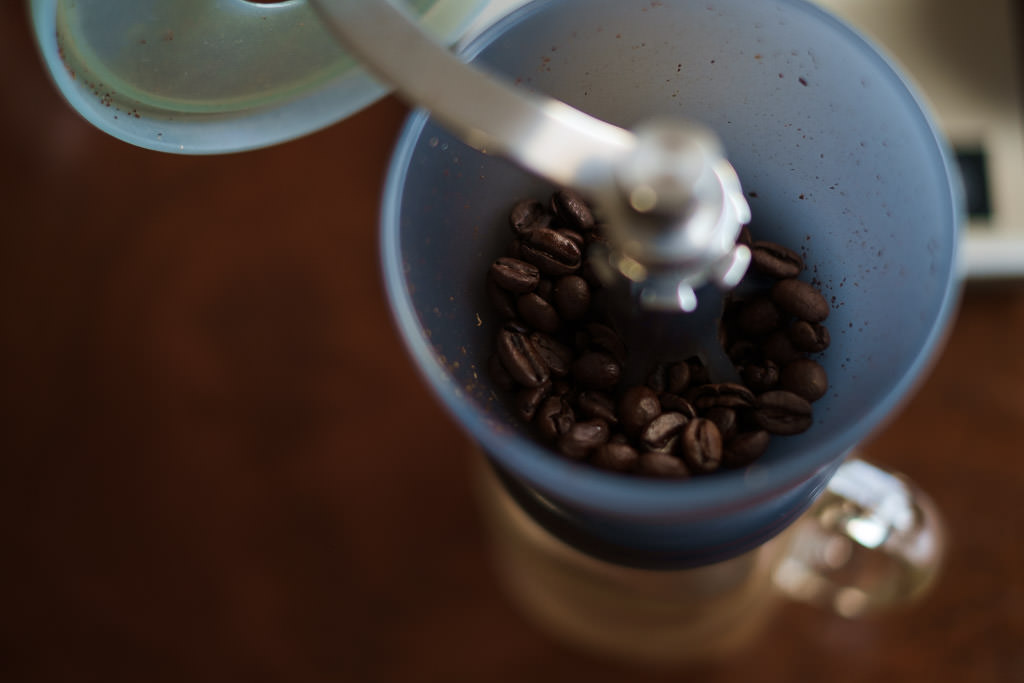
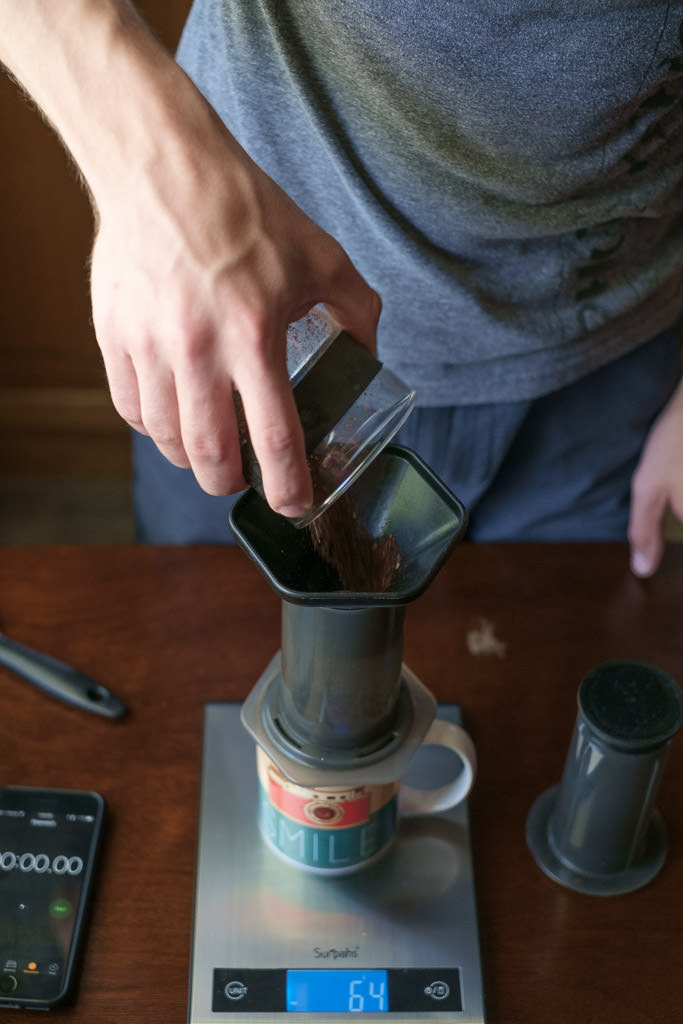
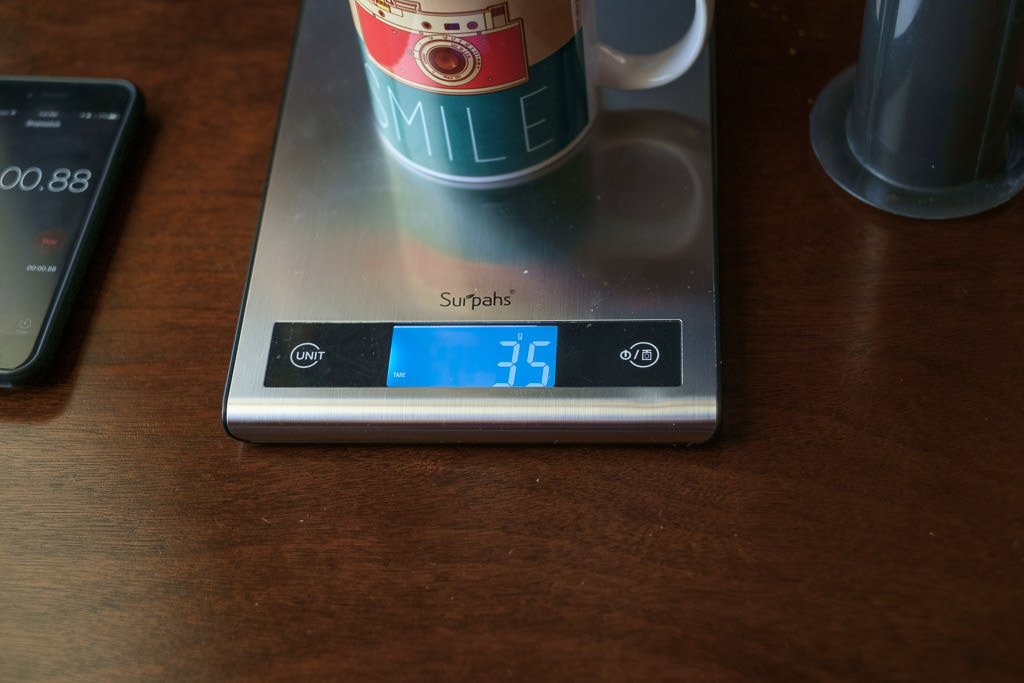
- Weigh and grind coffee
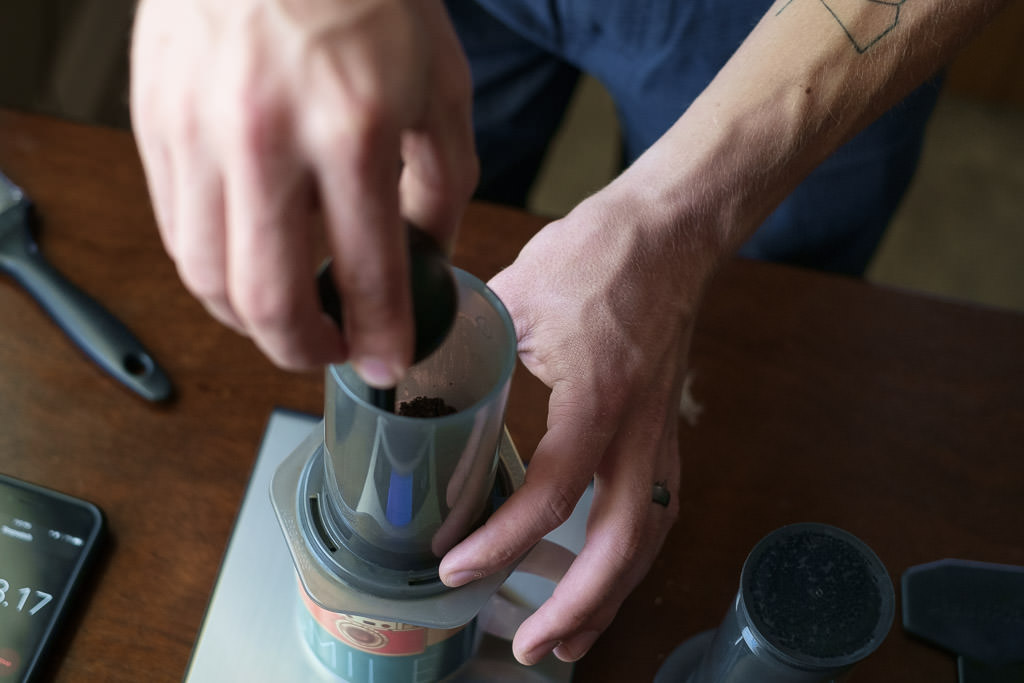
- Add coffee to inverted Aeropress (I keep the plunger seal at the "4" marker, inserted roughly 1/2")
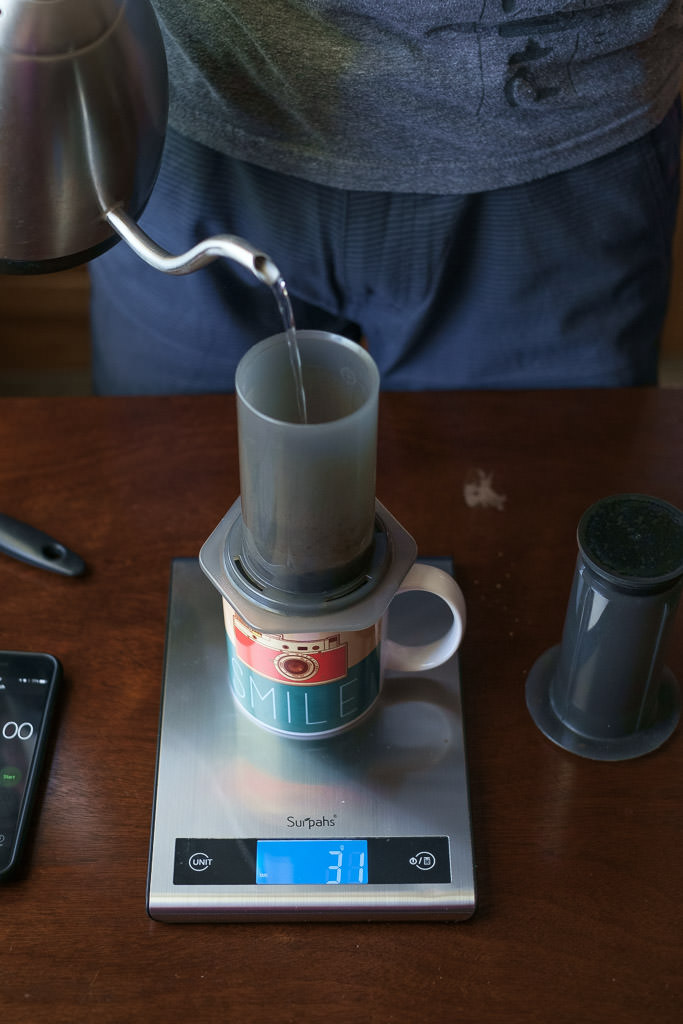
- Start timer and pour to weight
- After 1 minute, stir 4 times clockwise
- Screw on lid and let stand for an additional 3 minutes
- At 4 minutes total, invert Aeropress onto mug/decanter
- Pressing should take 15-20 seconds, stop plunging when you hear a slight hiss
I've found that this recipe works well for medium-darker roasted coffees. It extracts a full body and really highlights chocolatey and nutty notes. If the final brew is over extracted or too dense, reduce the steep time in step 6.
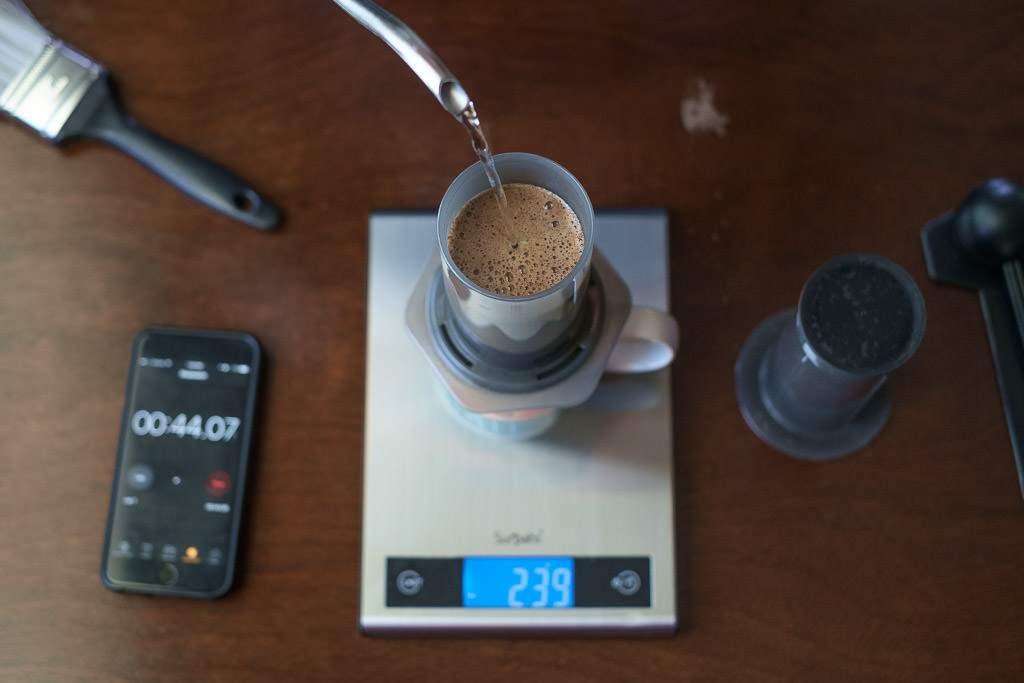
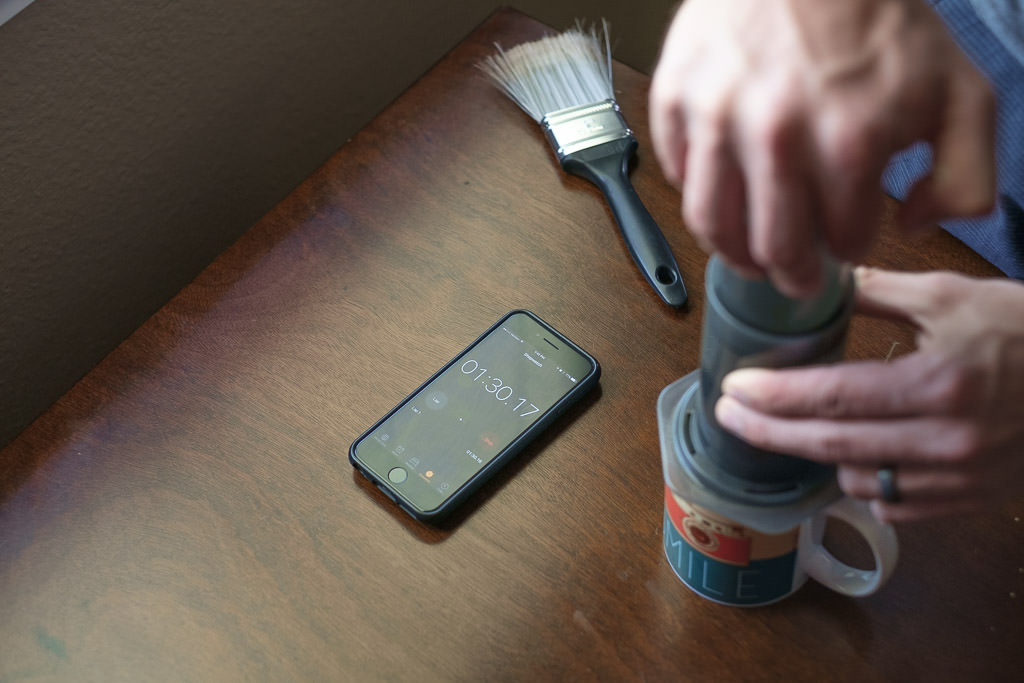
Style: Standard
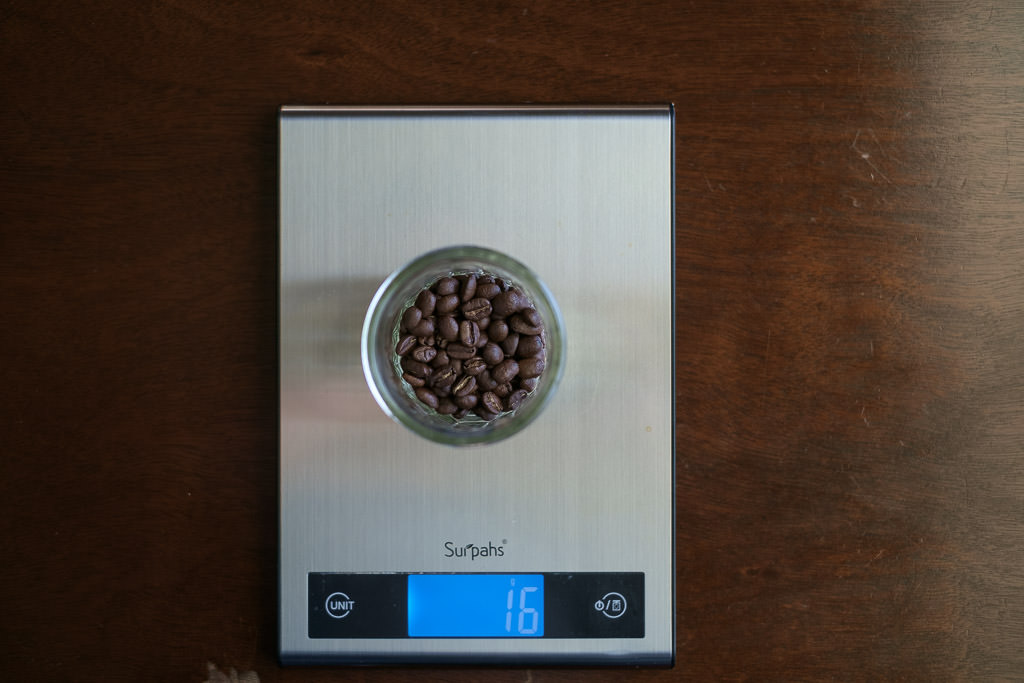
Coffee: 16g ground for paper (a little finer than the Inverted method) Water: 256g @ 200 degrees F
- Pre-heat Aeropress, decanter/mug, and rinse filter
- Weigh and grind coffee
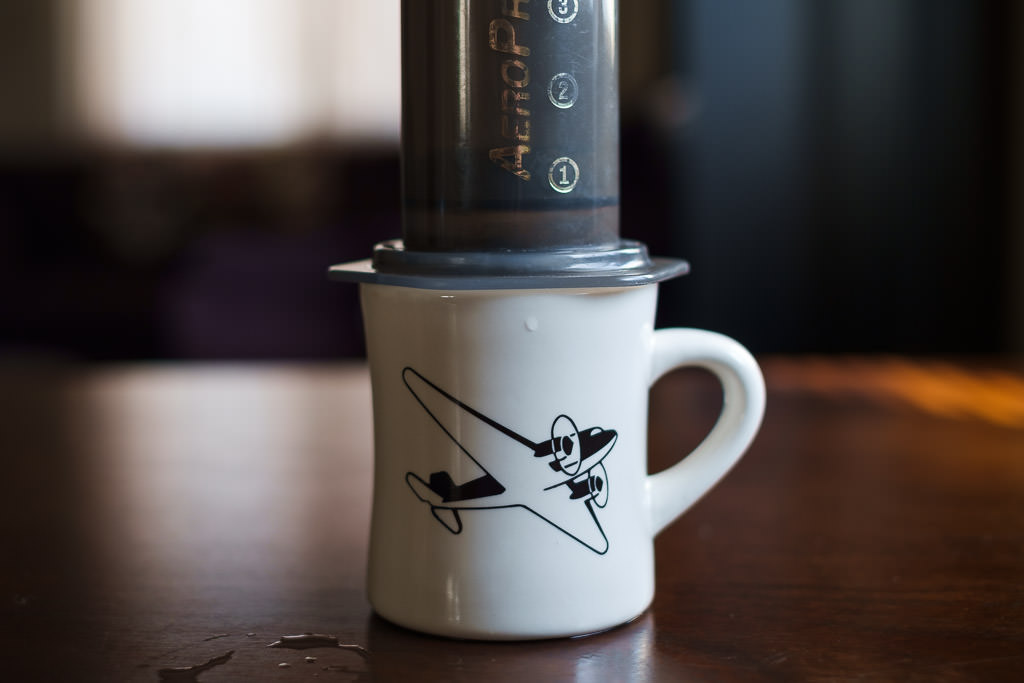
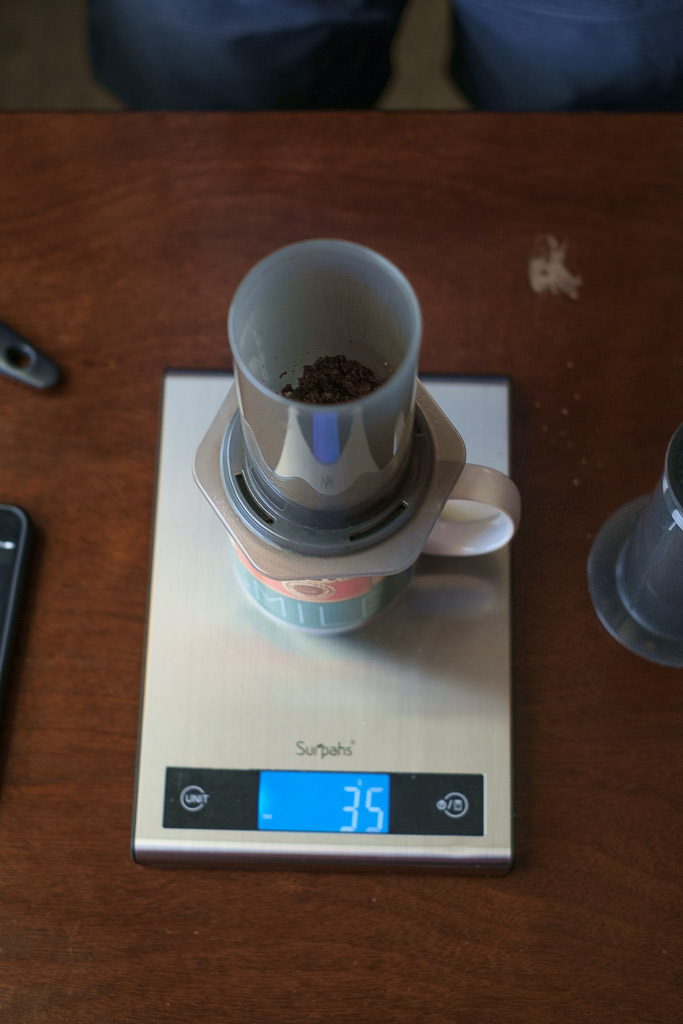
- Place Aeropress upright on decanter/mug and add the ground coffee
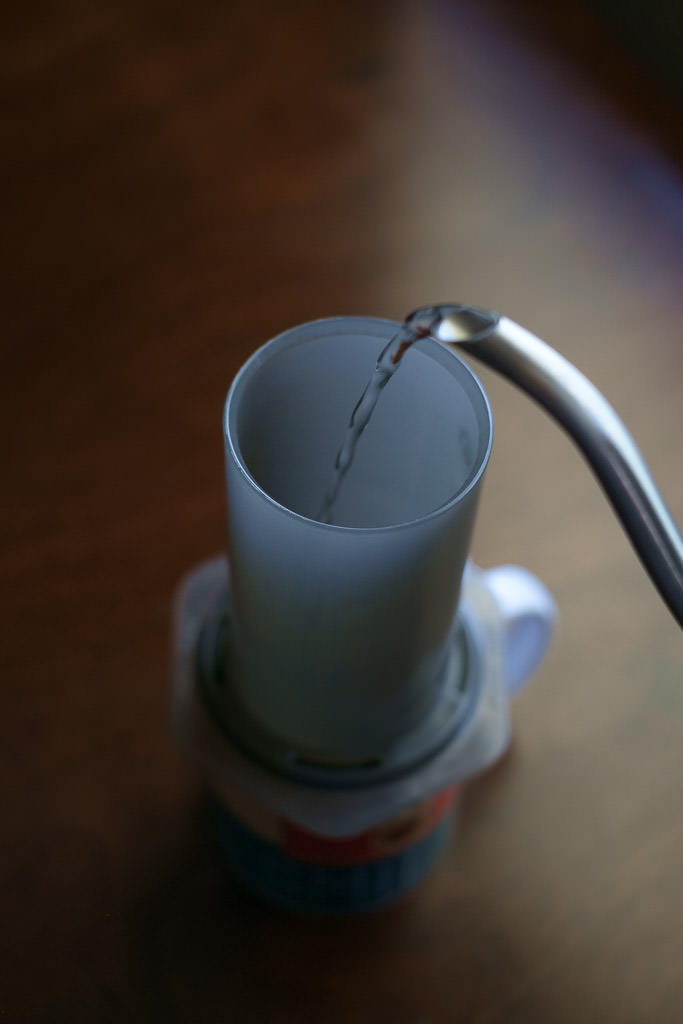
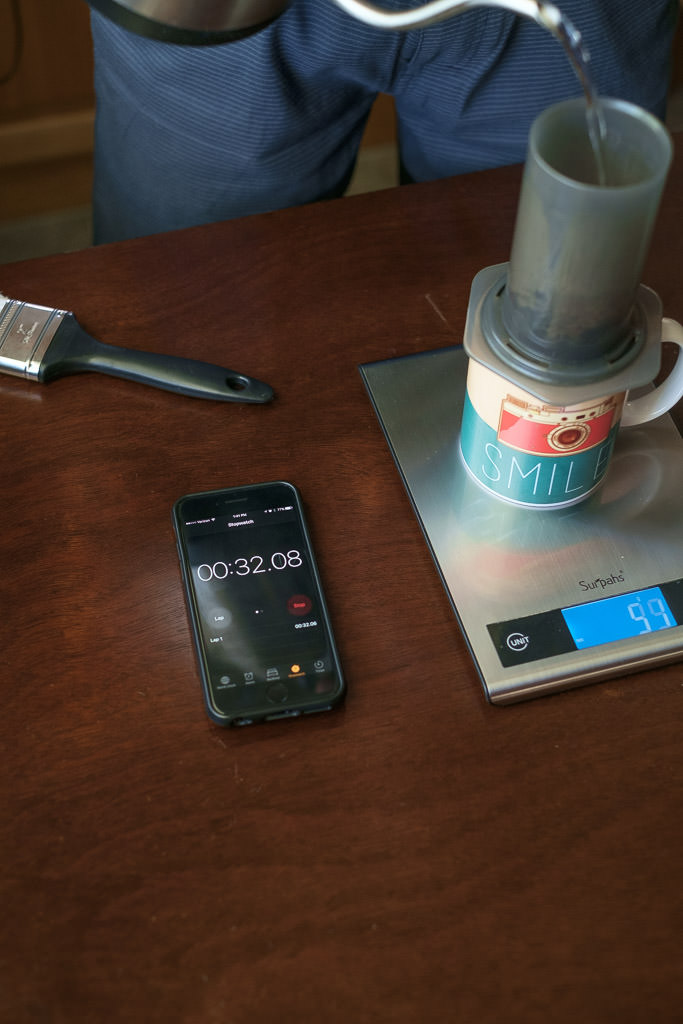
- Pour 30-40g of water, stir to ensure even saturation of grounds, start timer and wait for 30 seconds
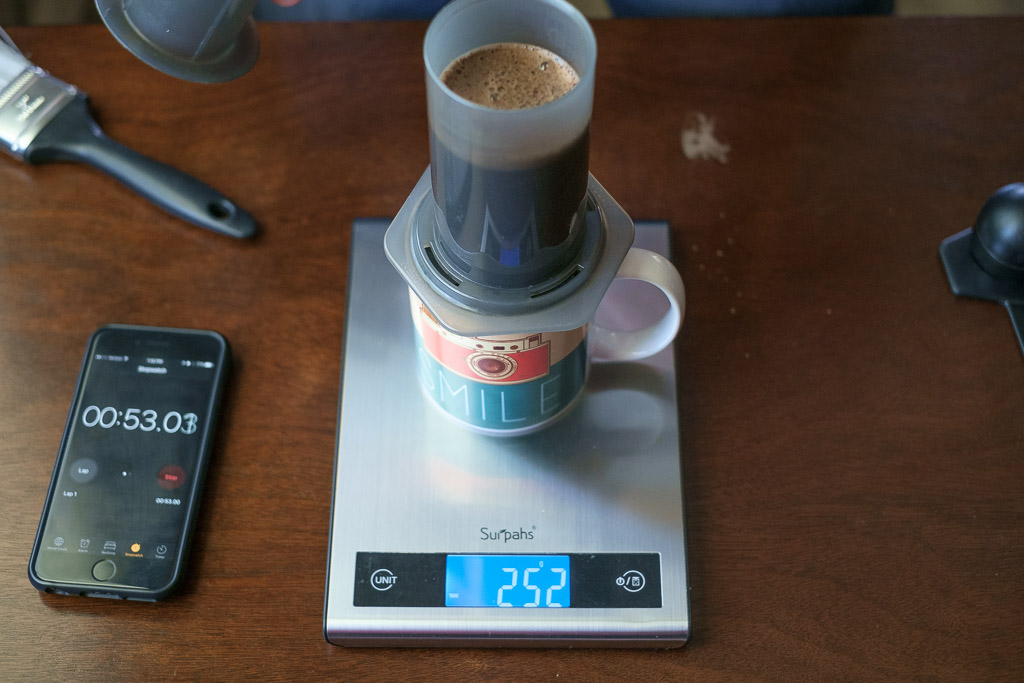
- Add remaining water to weight within 30 seconds
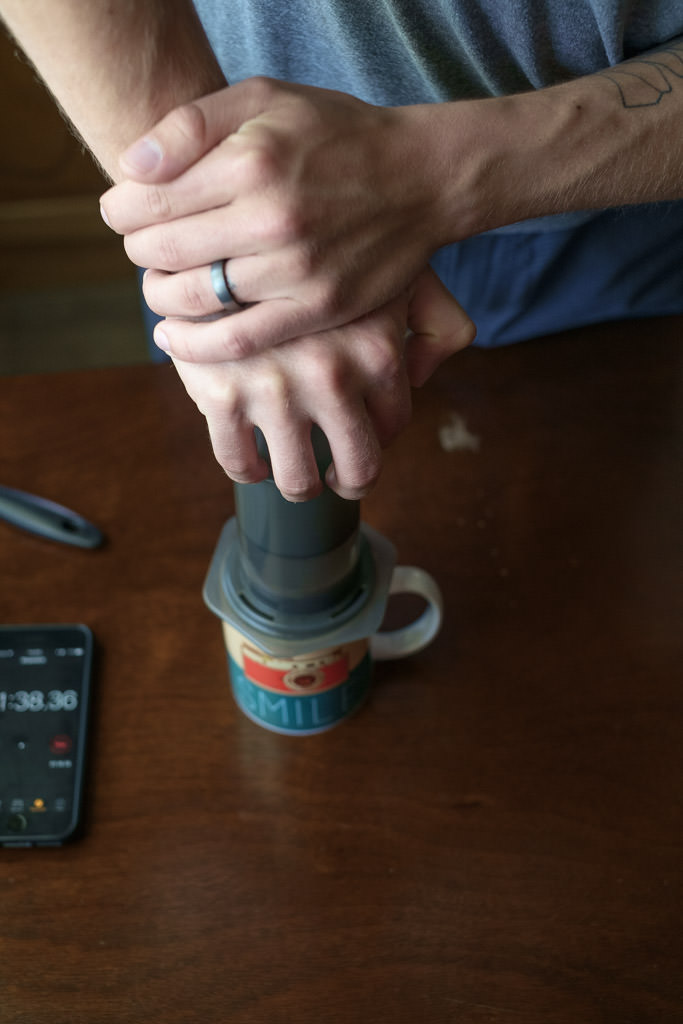
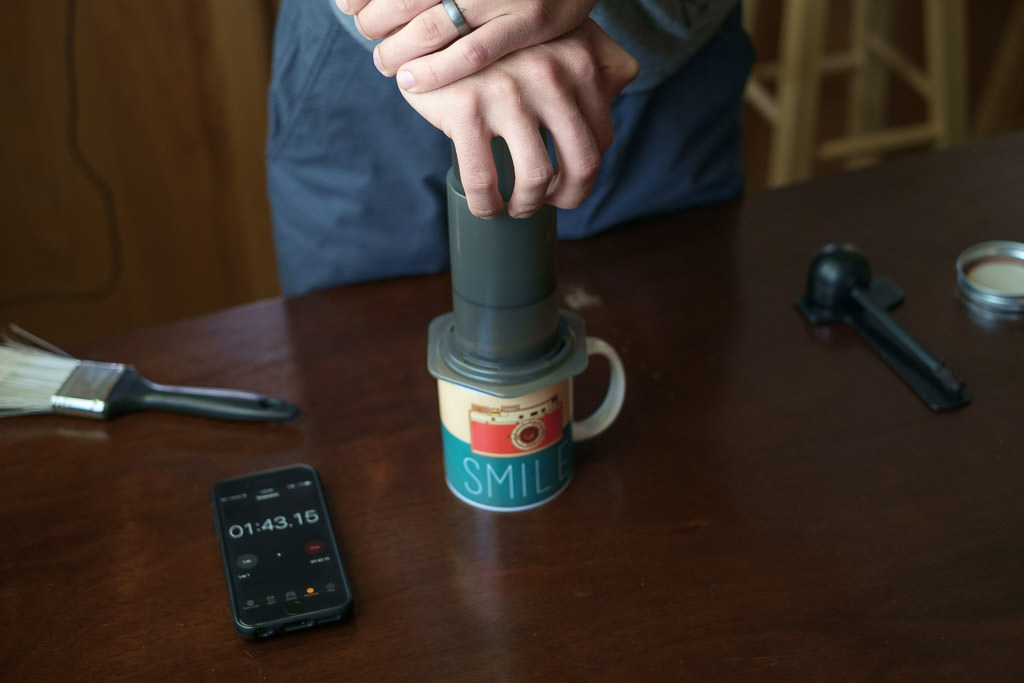
- Affix the plunger to keep coffee from dripping and let sit (at this point, I remove the mug and Aeropress from the scale)
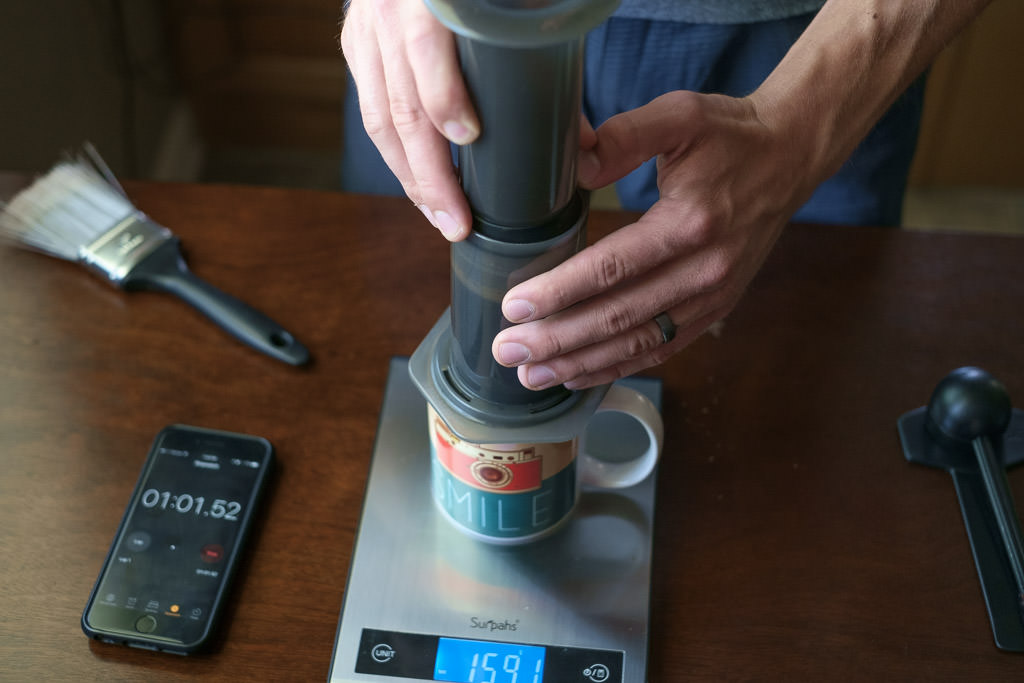
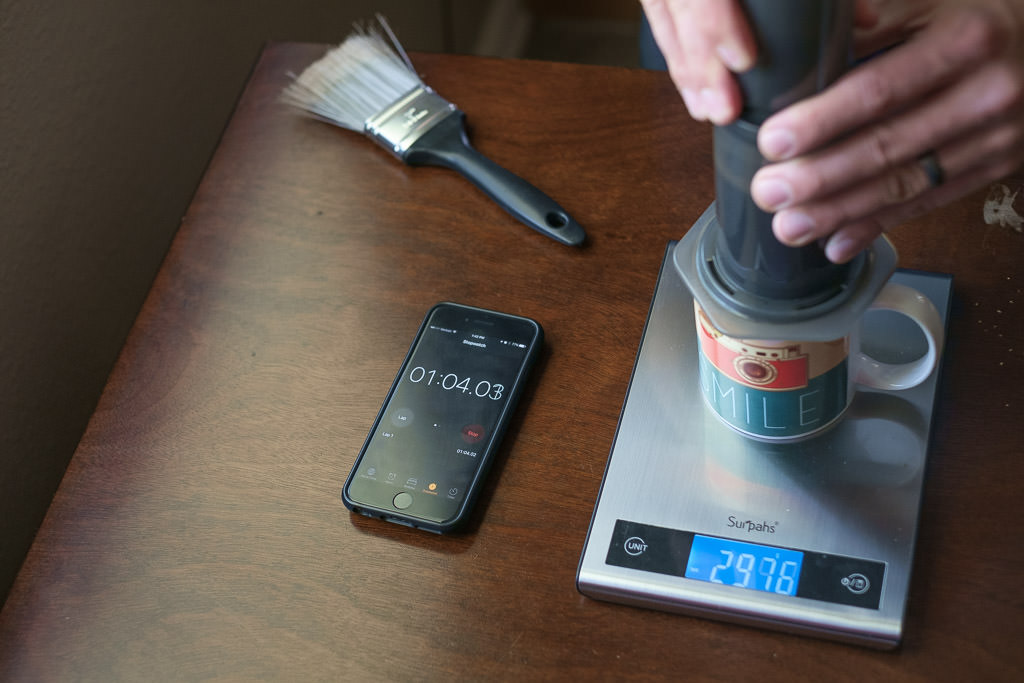
- Plunge after 1 minute until you hear the slight hissing, should take 20-30 seconds
This methods brings out a coffee's natural sweetness, highlighting citrus and floral notes. Naturally processed African coffee are particularly suited to this method, in my opinion.
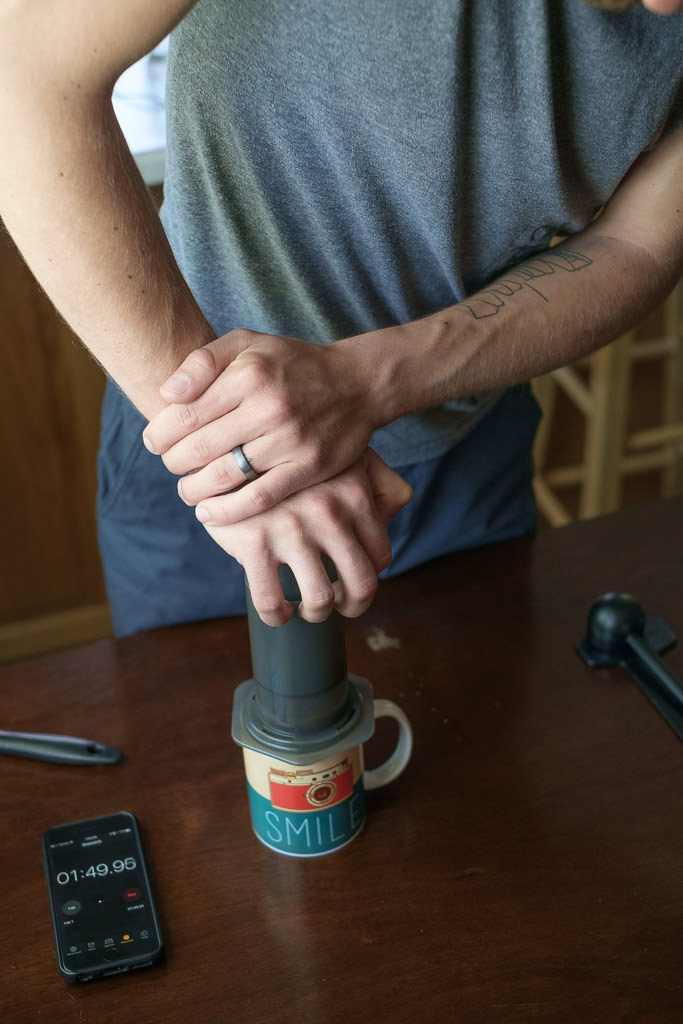

*You'll have to forgive my lack of accuracy on this set, I haven't ever had to brew coffee while reading the measurements upside down before. I'll work on that. Standard recipe images taken by my lovely wife.
Clean up
The simplicity of the design makes clean up a super easy process.
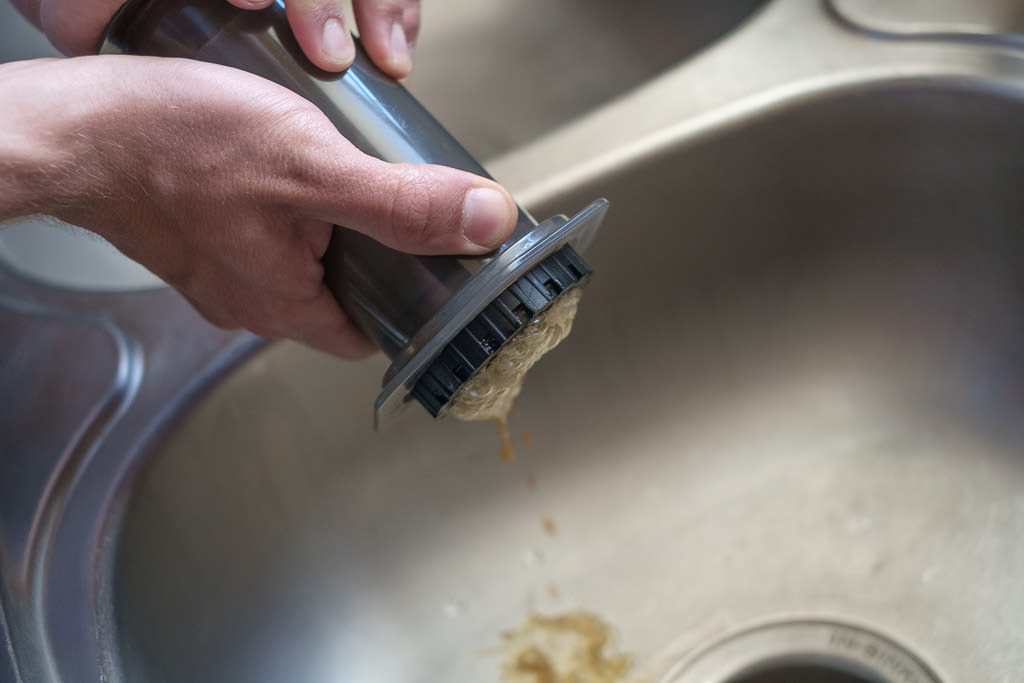
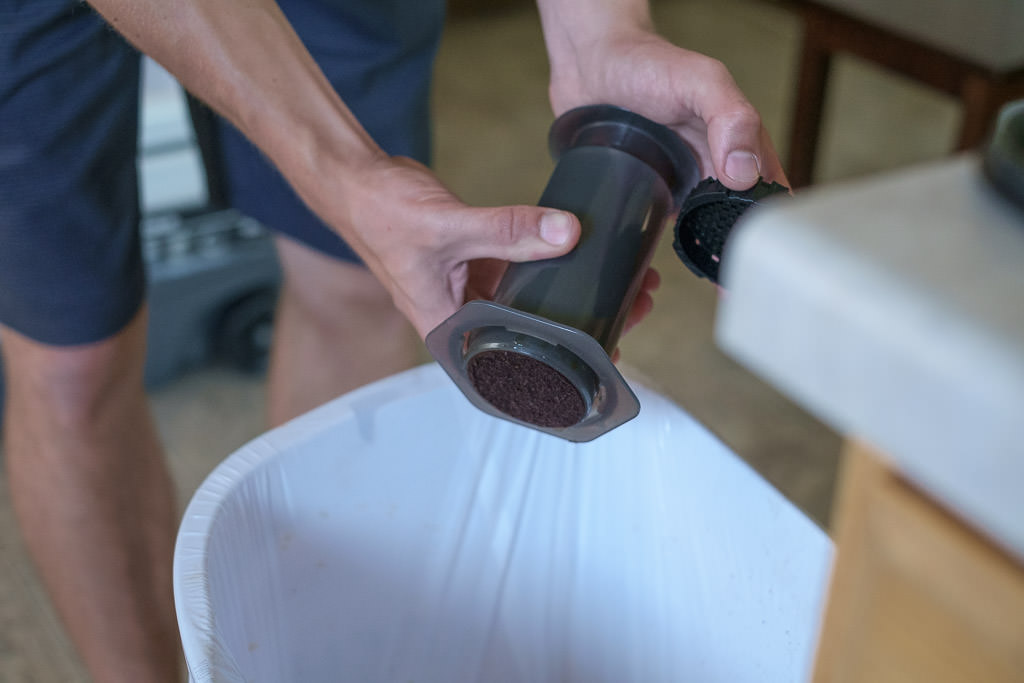
- Press the remaining air out over the sink or a trash can.
- Invert so the cap is facing upward
- Remove the cap and expel grounds and filter
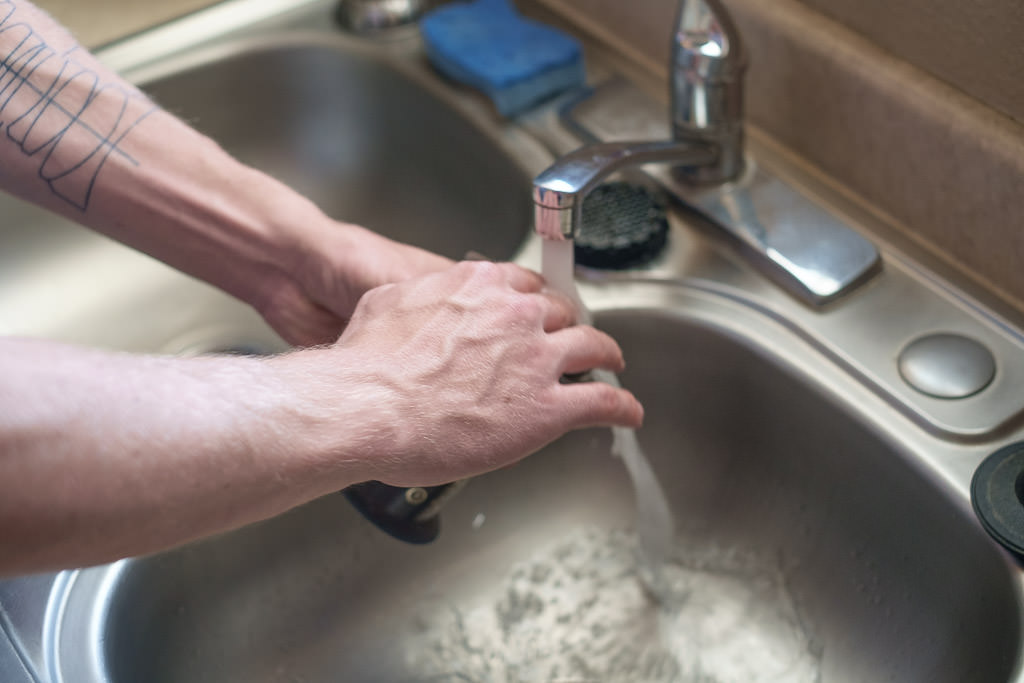
- Rinse the cap, plunger seal, and Aeropress internals under tap water
- Store separately or with the plunger all the way through the base so as not to wear out the seal prematurely
Final Thoughts
To me, the Aeropress represents everything that I want this blog to be. It's price and consistency makes it easily accessible to beginners. At the same time, it's versatility and variety of uses provides ample space to dive deep and really develop a strong understanding of how the recipe affects the coffee. I've barely scratched the surface on how each factor in the recipe ultimately affects the final cup, so I will likely revisit the Aeropress frequently over the course of this blog. If you have a favorite Aeropress recipe, a suggestion, or question, drop it in the comments below!
As always, thanks for reading.
Stay Handsome.