Flash Brew: Shaken Iced Coffee
If you had asked me about iced coffee a little over a year ago, I would have informed you of the magical experience of cold brew. The only way to make iced coffee right. Then I learned more and discovered the Japanese iced pour over, freshly brewed iced coffee packed with nuance and complexity, it blew my mind. Now I've been introduced to the flash brew method, and it's blowing my mind all over again. The name's Wade. Handsome Wade and I'll have my iced coffee shaken, not stirred.
Meet the Flash brew
If you haven't guessed yet, I love traveling and discovering new coffee shops. I'm crazy fortunate that I get to travel all over the US this year with my wife shooting weddings and visit a whole bunch of sweet shops. One of these shops, Slate Coffee Roasters in Seattle, WA, served me a single origin iced coffee out of a beverage shaker. Topped with a thick foamy head, like an aggressively poured soda, this coffee had a unique texture and a lively flavor palate. I took advantage of the slower afternoon to chat with the baristas about this intriguing method. They didn't give me a name for it, but they told me they found the incorporated air lends to a heightened experience with the coffee's flavor palate.

Fast forward a couple of weeks and a couple hundred miles to the newly opened Kiln Coffee Bar in Grand Junction, CO. While we waited to meet up with a childhood friend of mine, I talked shop with one of the co-owners, David. As I described the experience I had in Seattle, he pointed to a beverage shaker sitting on their bar line and said "Oh, flash brew? Yeah we do that here too."
Defining Terms
From my research since Grand Junction, there doesn't seem to be a consensus on the difference between a Japanese iced pour over and a flash brewed iced coffee. So for specificity sake, I'll make the differentiation for the terms I use. Both methods brew pouring hot water over ground coffee directly into ice to rapidly cool and lock in flavors. For the Japanese iced coffee method I utilize a 1:16 ratio and divide the water into equal parts ice and hot water. For flash brewed iced coffee, Iuse a 1:13 brew ratio shaken with ice, intensifying the flavor palate via aeration.
(If you happen to have some industry authority on what to call this method, I'd love to hear it!)

Flash Brew Method
When we returned home, I went to work dialing in my recipe for this exciting new method. I found that using the same recipe as the Japanese style resulted in a more watery experience than I had while traveling. So I adjusted the ratio to create a stronger initial extraction that I then further diluted by adding more ice before shaking.
I'm working on simplifying the brew methods for those of you who have been with me for a while. If you don't need an explanation of the technique, look no further than the "At a glance" section.
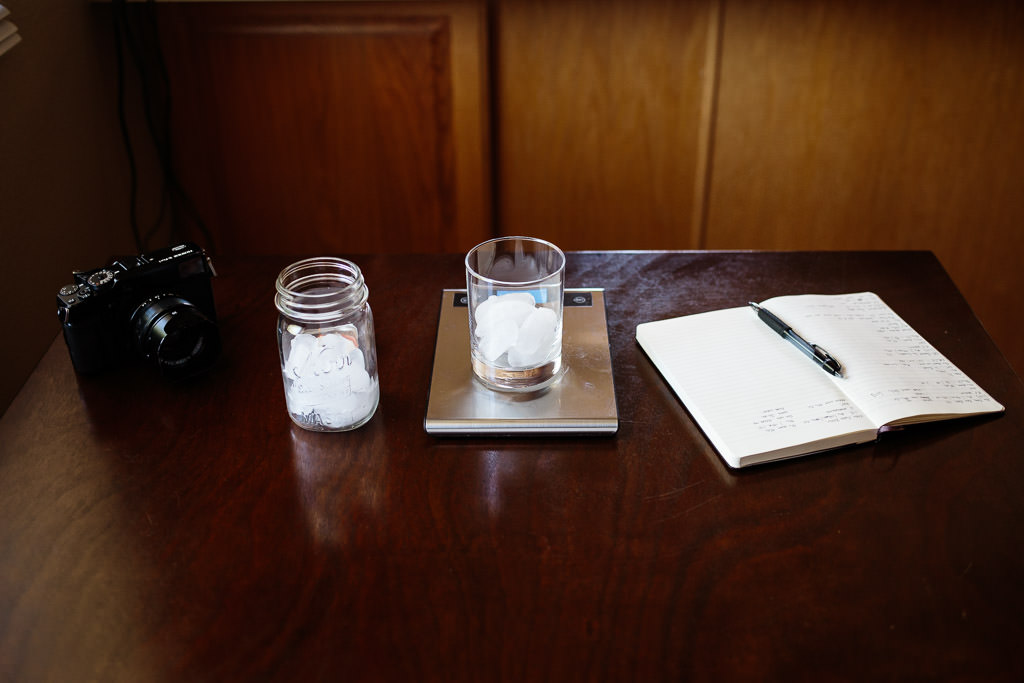
Preparation
What you'll need
- V60 (or other pour over device)
- Gooseneck kettle
- Digital kitchen scale
- Timer
- Burr grinder
- Beverage shaker
- Alternatively you can use a mason jar with a lid or a travel mug that seals tightly)
At a glance
- 18g coffee
- 240g water*
- 140g water @ 200°F
- 100g ice
- Fine grind
- A little coarser than espresso and finer than a normal pour over
- Handground setting: 2. Bodum Electric setting: 8.5
*You'll notice this initial ratio works out to roughly 1:13 and the ice accounts for roughly 1/3 of the water weight instead of 1/2 like I used in the Japanese Iced Pour Over. After a couple of trials, I've found this to be my personal sweet spot.
- 40g bloom
- First pour: 50g, 90g total
- Second pour: 50g, 140g total
- Add 100g ice
- Shake and serve


Full Method
Prepare
- Start by weighing out your ice
- Weigh 100g ice into your brew carafe
- Weigh an additional 100g into a separate carafe
- I typically brew straight into my shaker and add the additional ice to the cup I'll drink out of.
- Heat your water to 200°F
- Pre-heat and rinse your V60 filter
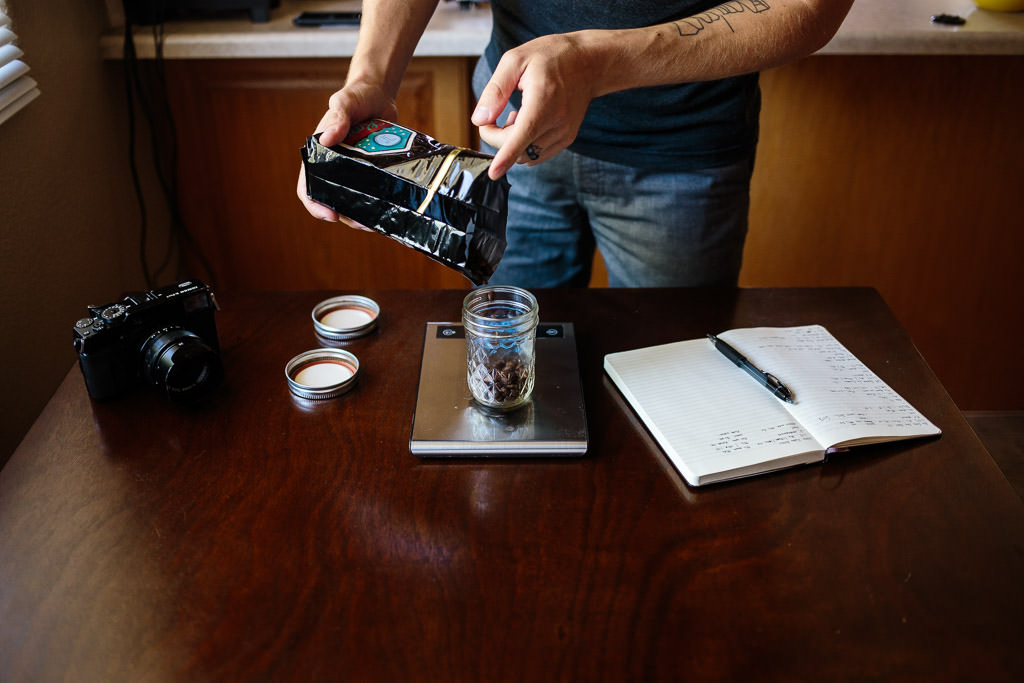
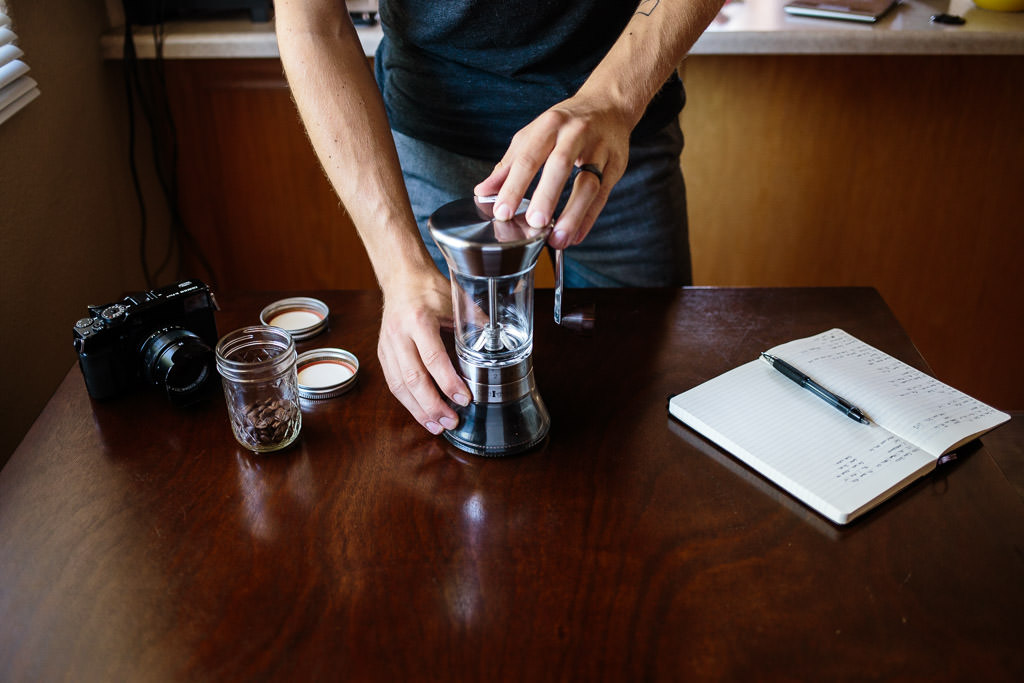
- Weigh and grind your coffee
- Use a fine grind, finer than you would for a normal V60, slightly coarser than you would for espresso
- For reference, I grind on a 2 with my new Handground precision grinder (I love this grinder, go get one!) or an 8.5 on my Bodum electric burr grinder
- Add coffee to the V60
- Level off the bed of grounds then dig a hole in the center
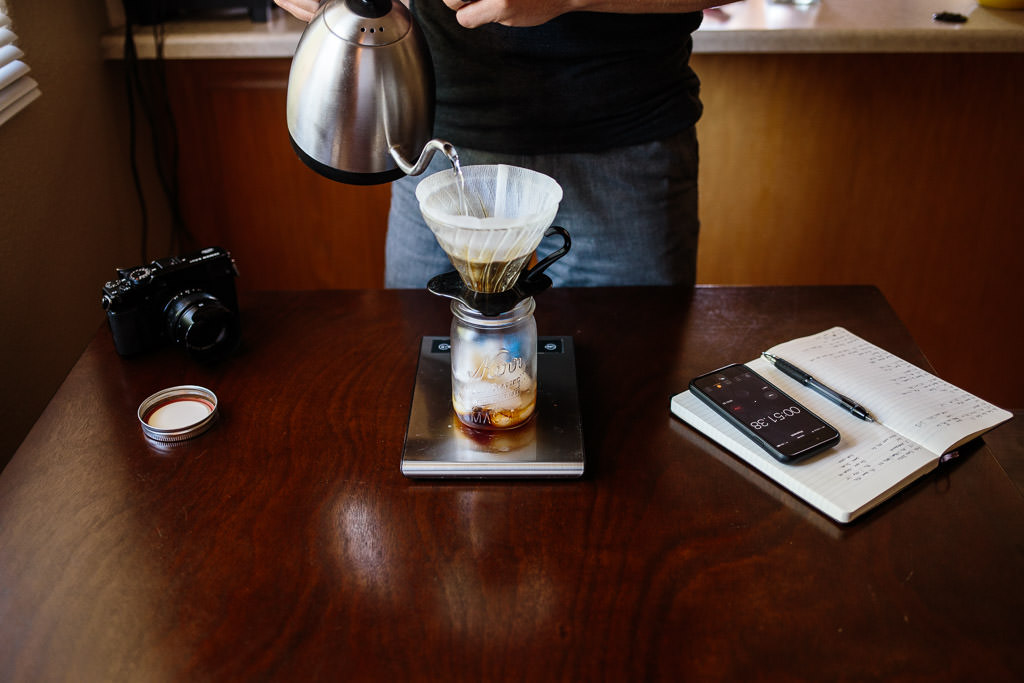
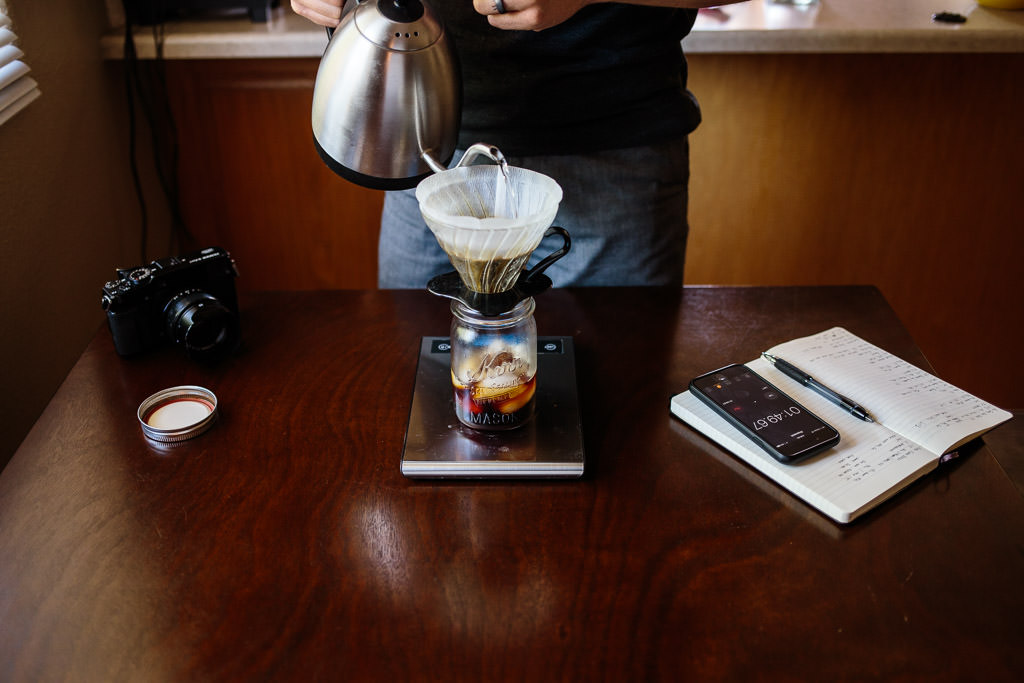
Brew
- Start your timer and pour 40g
- Start in the center where you dug the hole then work your way in a circle wetting all the grounds
- Give the slurry a quick stir to ensure even saturation
- At 45 seconds, begin your second pour
- Begin in the center, pour slowly in concentric circles working your way to the outside
- Pour 50g to the total weight of 90g
- Tip: I've found that writing down the total weights of each pour, as opposed to the amount I'm pouring, helps me hit my target more accurately. That way I don't have to do math while I'm pouring ;)
- At 1:30, begin your final pour
- Pour the final 50g to the total weight of 140g
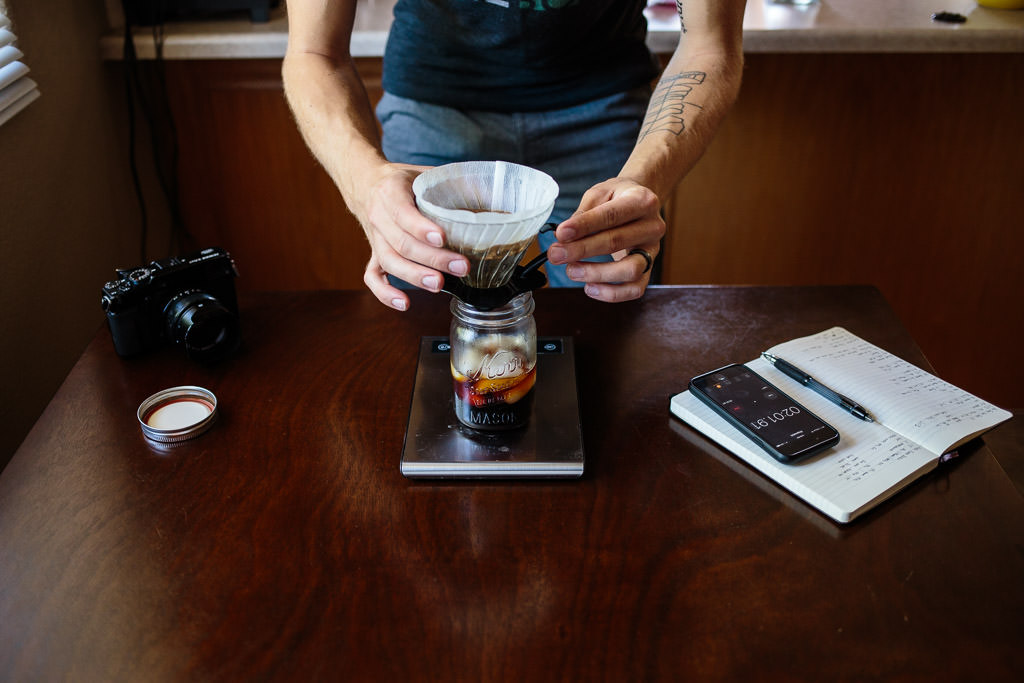
- Spin and Tap
- As your finish your final pour, lift the V60 slight and give it a little spin to agitate the slurry
- Gently tap the V60 on the brew carafe to settle the grounds
- I learned these two methods, sometimes referred to as the Rao Spin and the Perger tap from Perfect Daily Grind article about the importance of agitation.
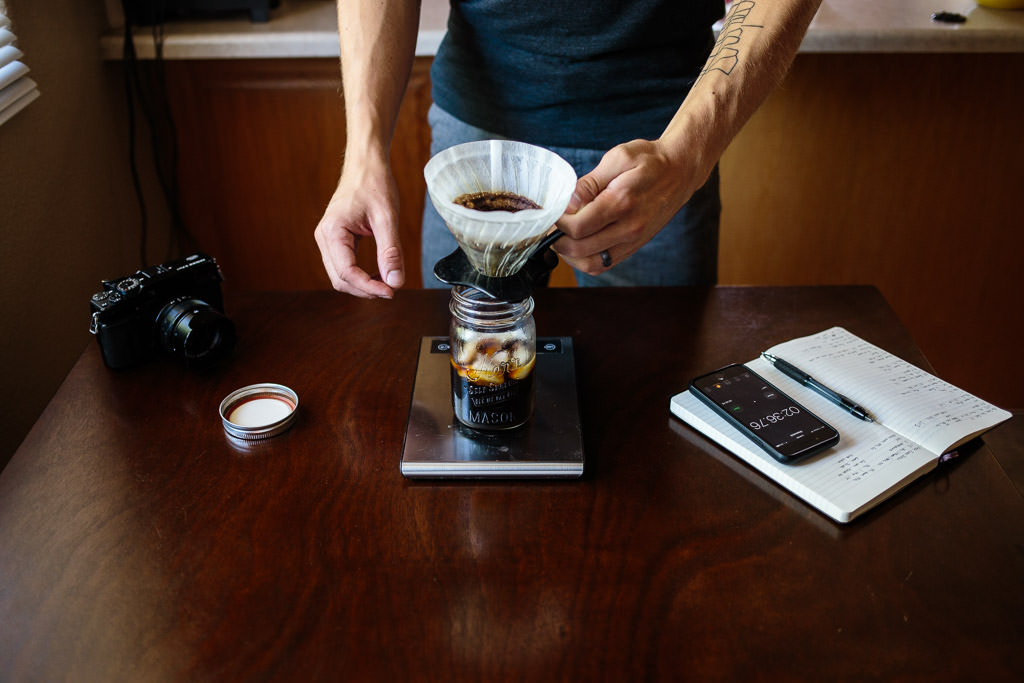
- Allow the water to drain
- The water should drain evenly across the brew flat bed
- This whole process should take roughly 2:30-2:45
- If it is significantly faster, use a finer grind or pour more slowly
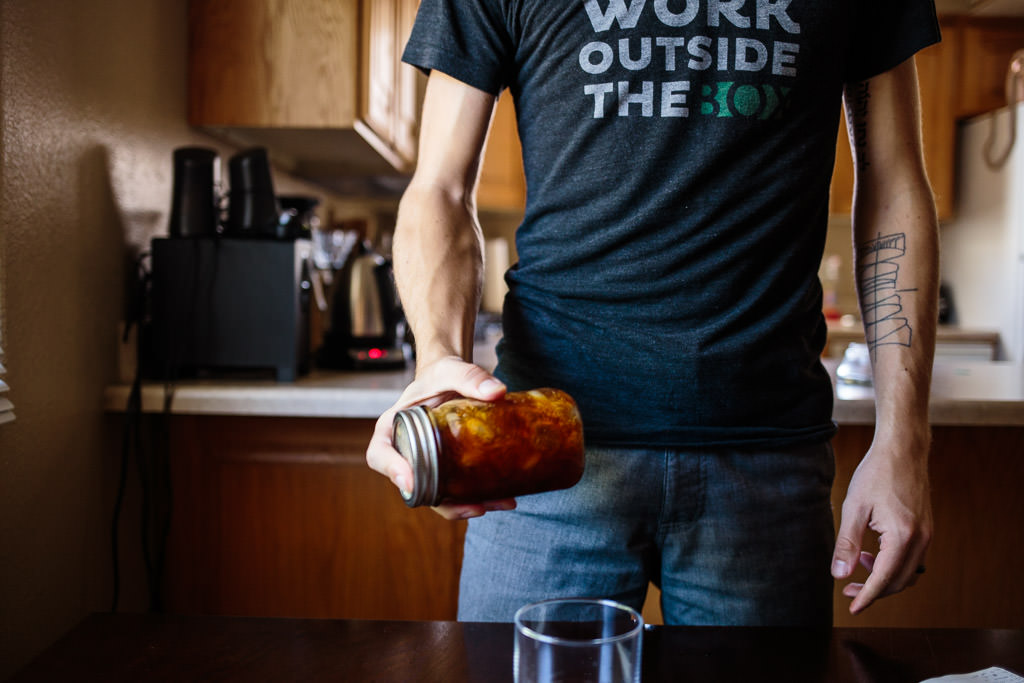
Shake
- Combine the resulting coffee with the additional 100g of ice in your shaker
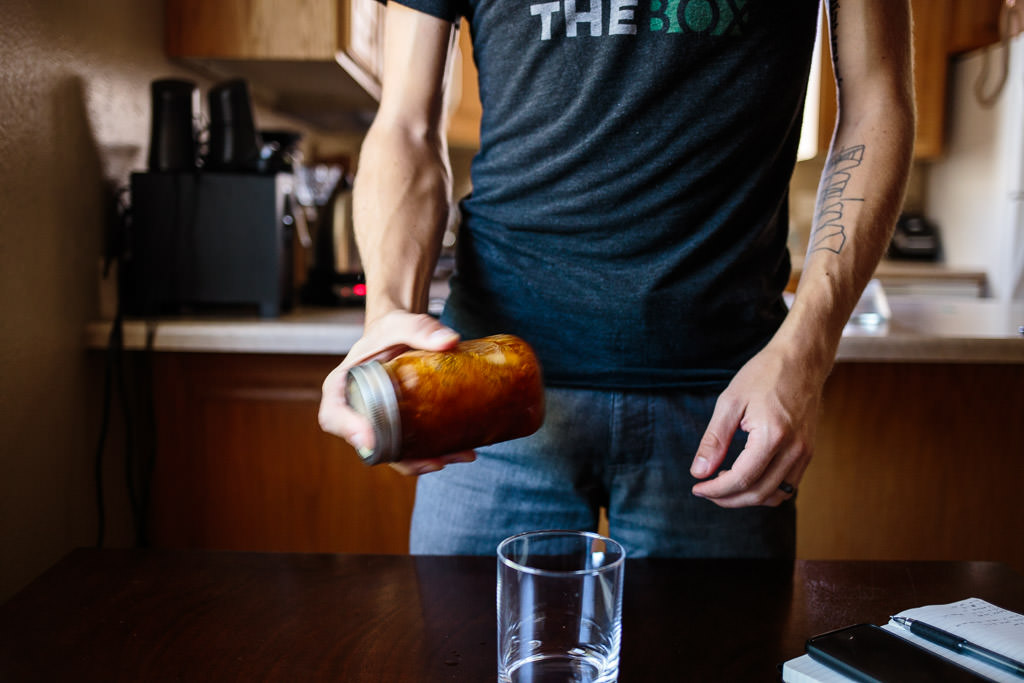
- I don't have a beverage shaker, so I either use a travel mug with a tight seal or a mason jar with a lid.
- If you want to document your final yield, tare your serving carafe before pouring
- Secure lid and shake
- Shake for 15-30 seconds
- Serve
- Pour into your serving carafe and enjoy!
- If you'd like to document your final yield, tare your serving carafe before pouring
- If your using a travel mug or a mason jar for your shaker, you don't even need to pour it necessarily. You can simply enjoy it from there!
- Pour into your serving carafe and enjoy!

As always, if you have any questions, comments, or ideas for a future post drop a comment below, contact me via email, or connect with me on social media!
Stay handsome