Updated Moka Pot Brew Method
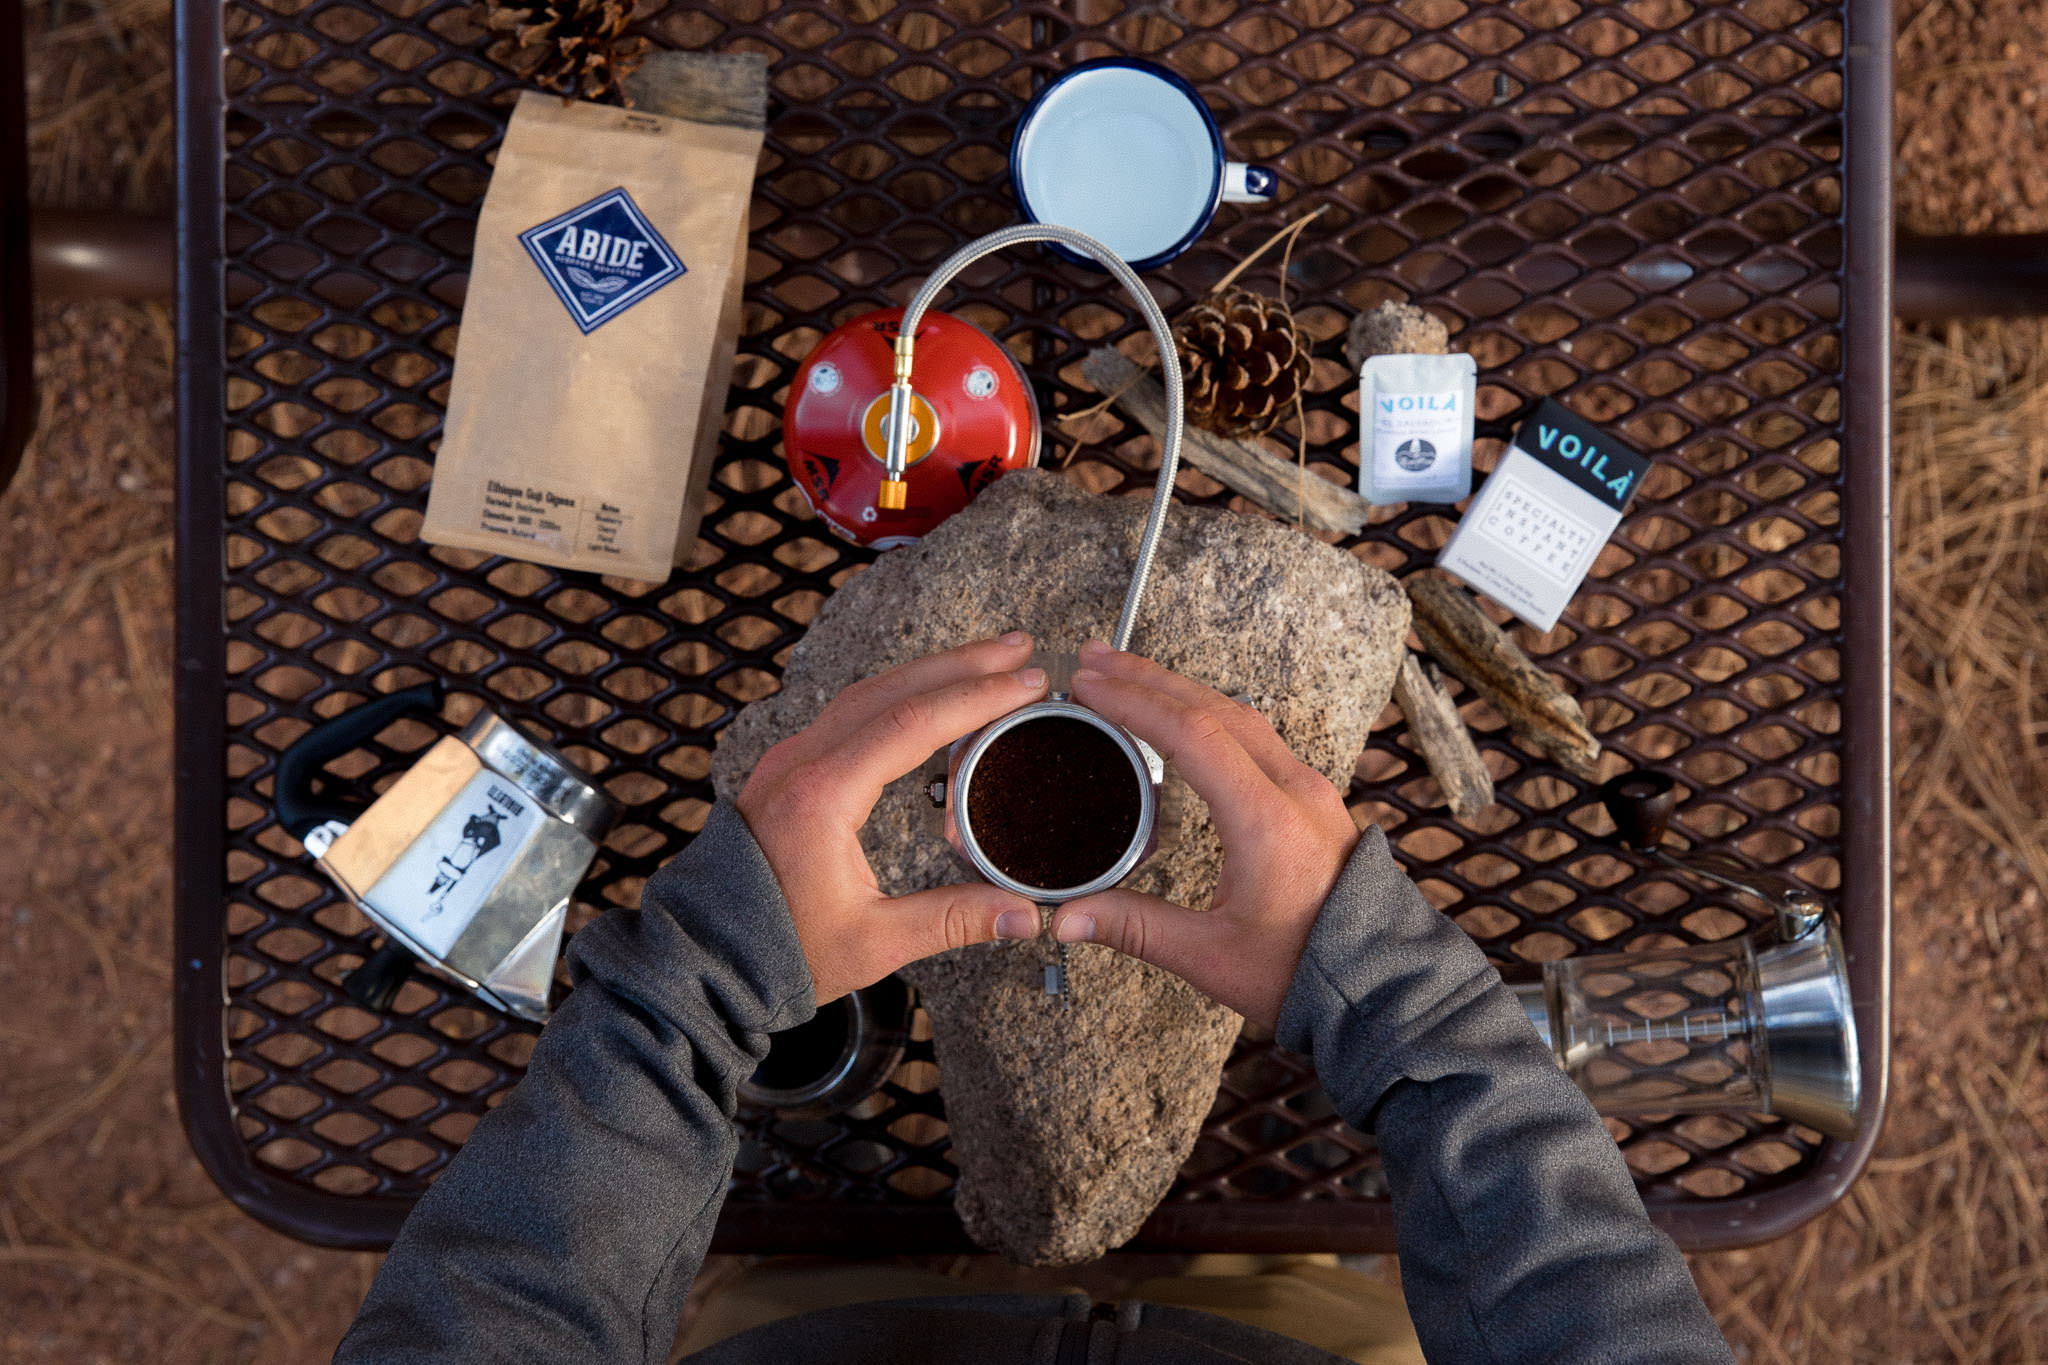
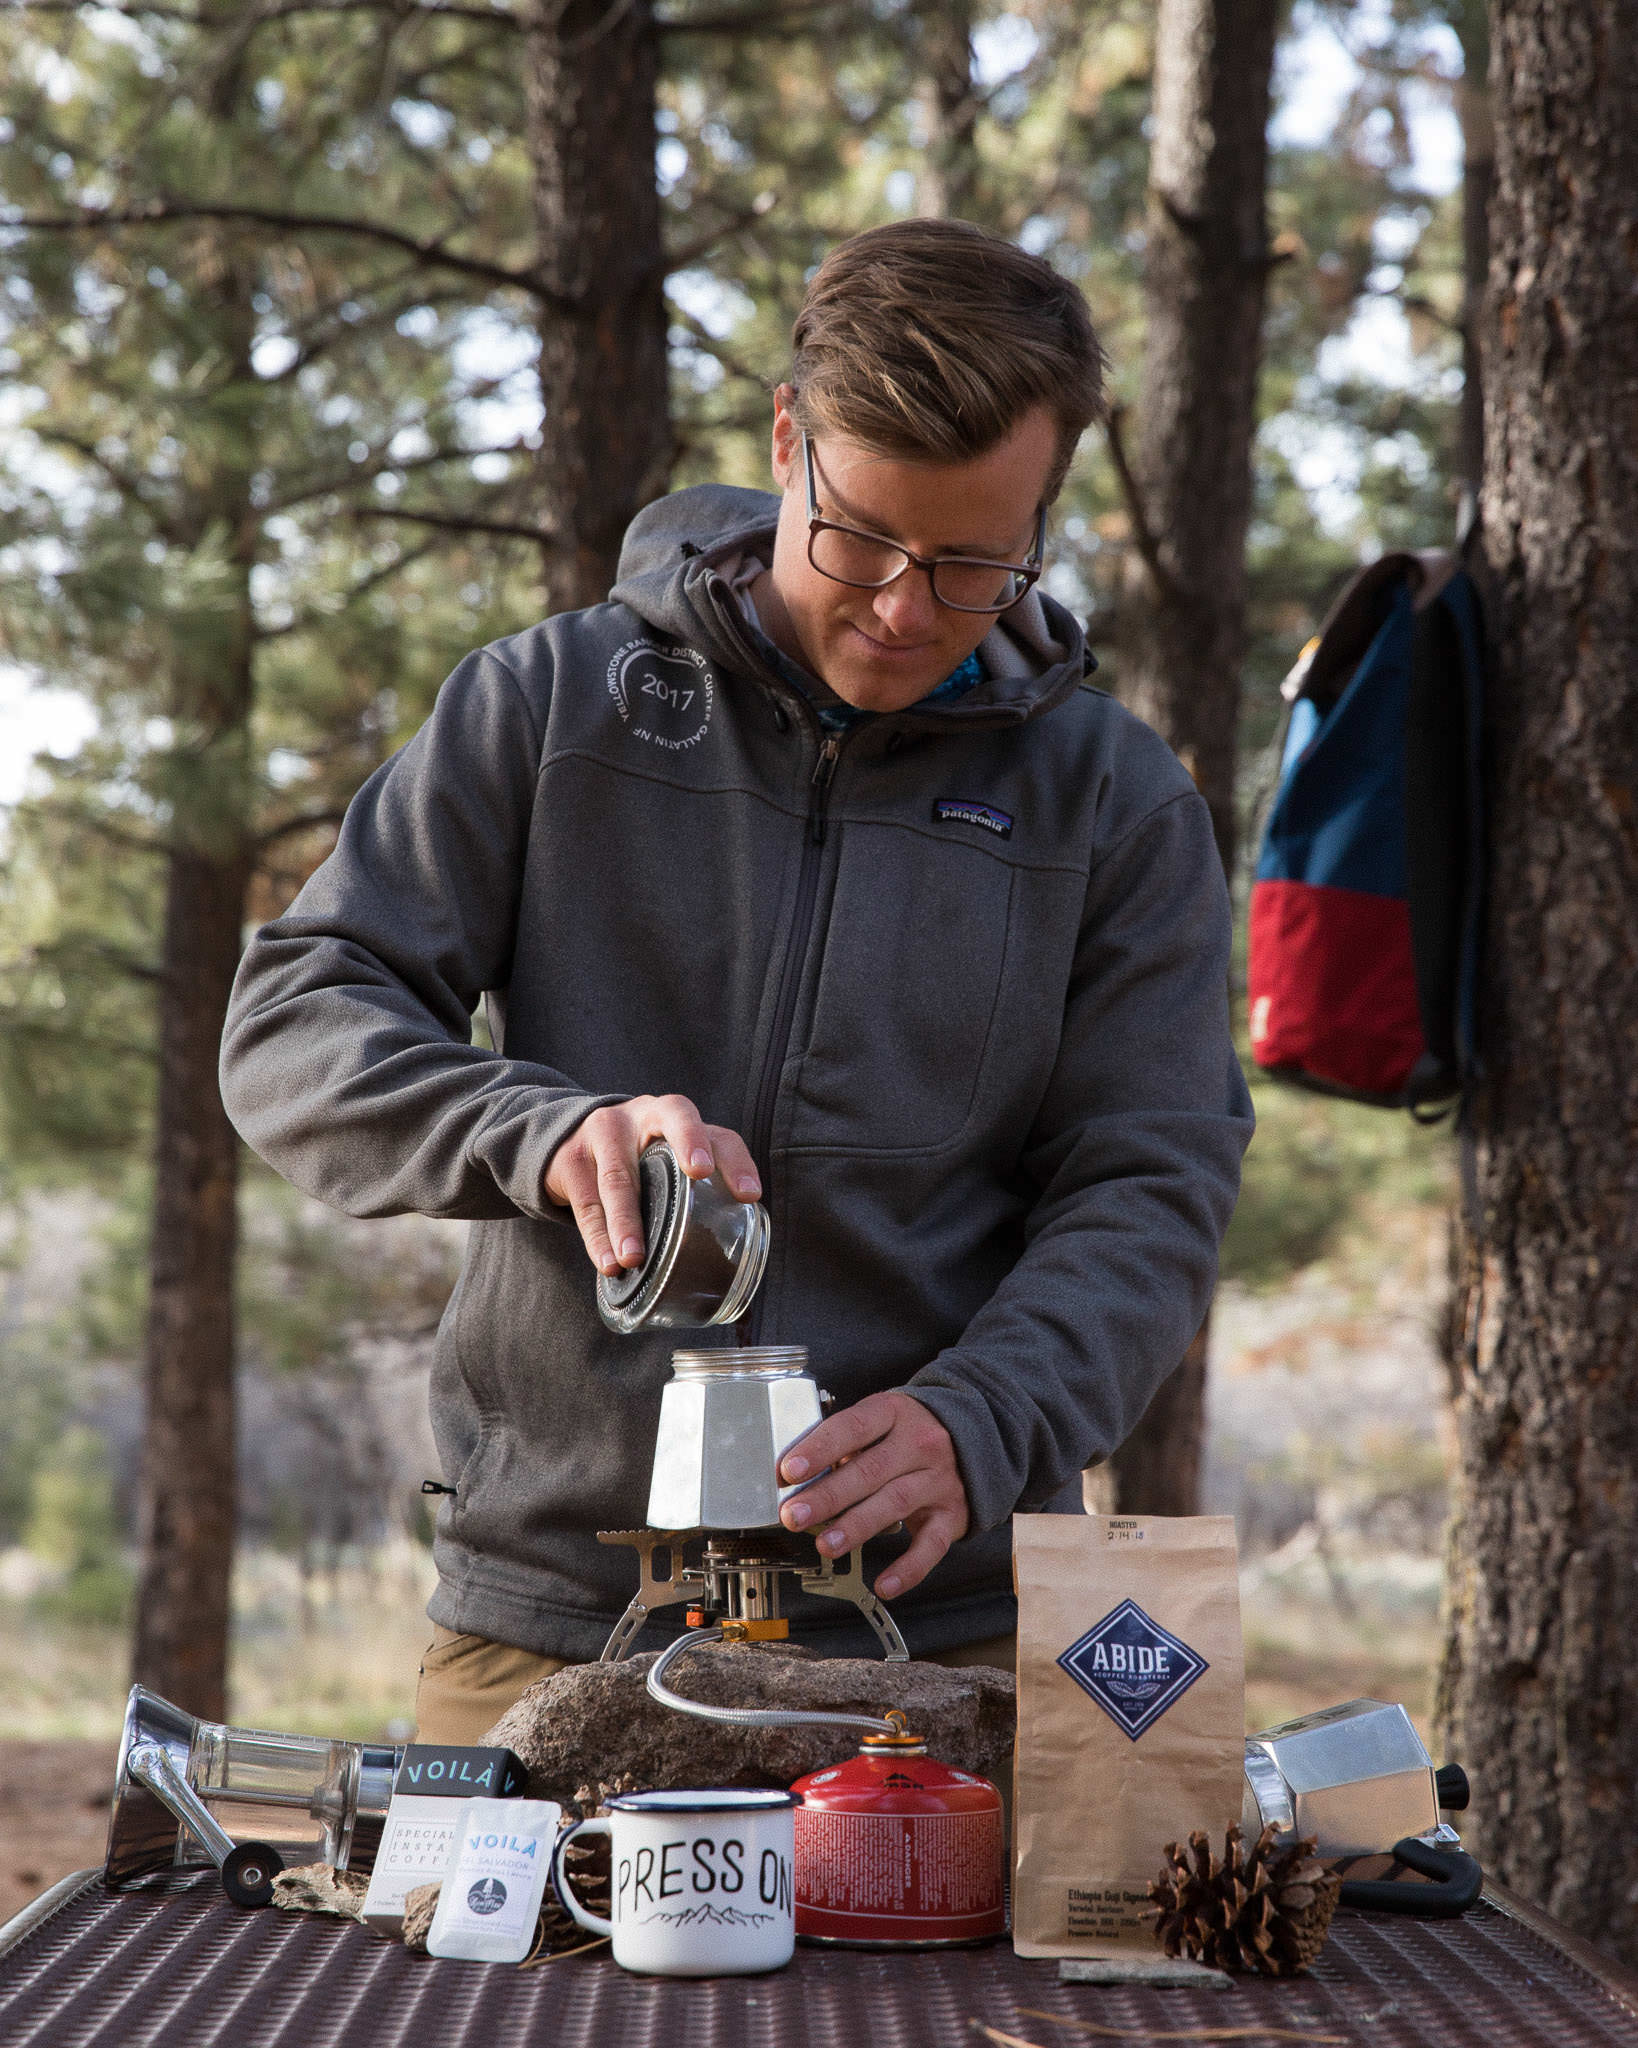
For a long time, I talked about continuing to dial in my moka pot recipe from the original recipe I posted months ago. To be completely honest, I’ve hardly broken it out since then. Thankfully, I have some awesome friends. Derek, a fellow photographer and coffee enthusiast, frequently uses his Moka Pot both at home and when he’s out camping. So I had him show me the tricks he’s picked up to bring you this updated brew method for the little aluminum coffee maker that could.
What's New?
For the most part, I still stand by my original recipe, I’ve just added a couple things based on Derek’s recommendations.
Additional Filtration
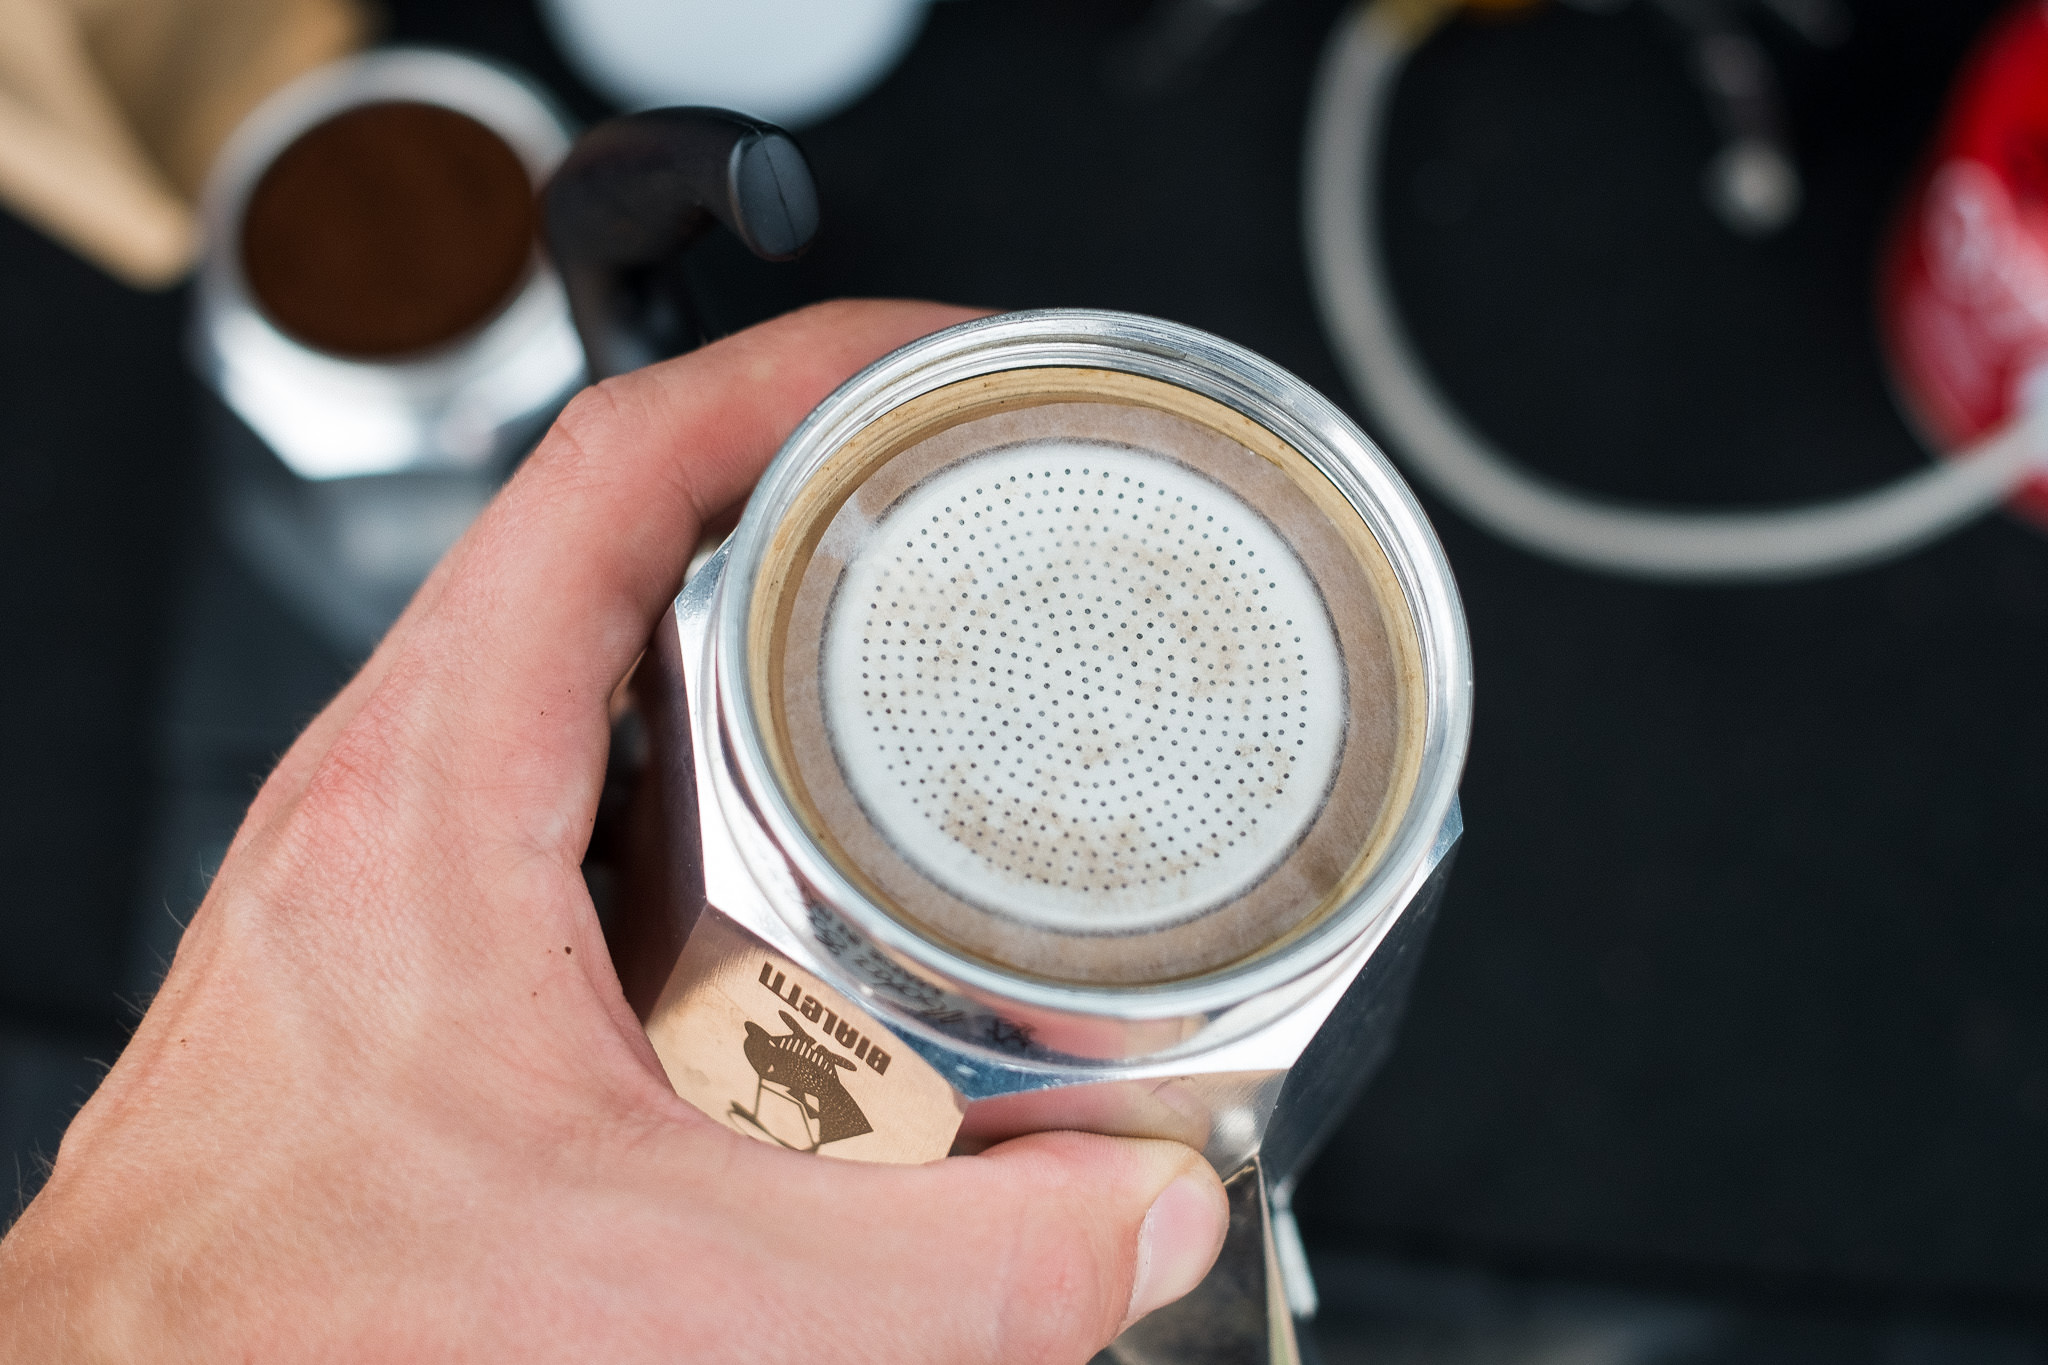
Take for instance the genius addition of the Aeropress filters. When placed below and above the grounds bed, the filters obviously provide additional filtration to keep that final cup nice and clean. They also allow for additional pressure to build up. It’s not a lot of extra pressure, but in the world of extraction even a little boost helps.
Halting Extraction
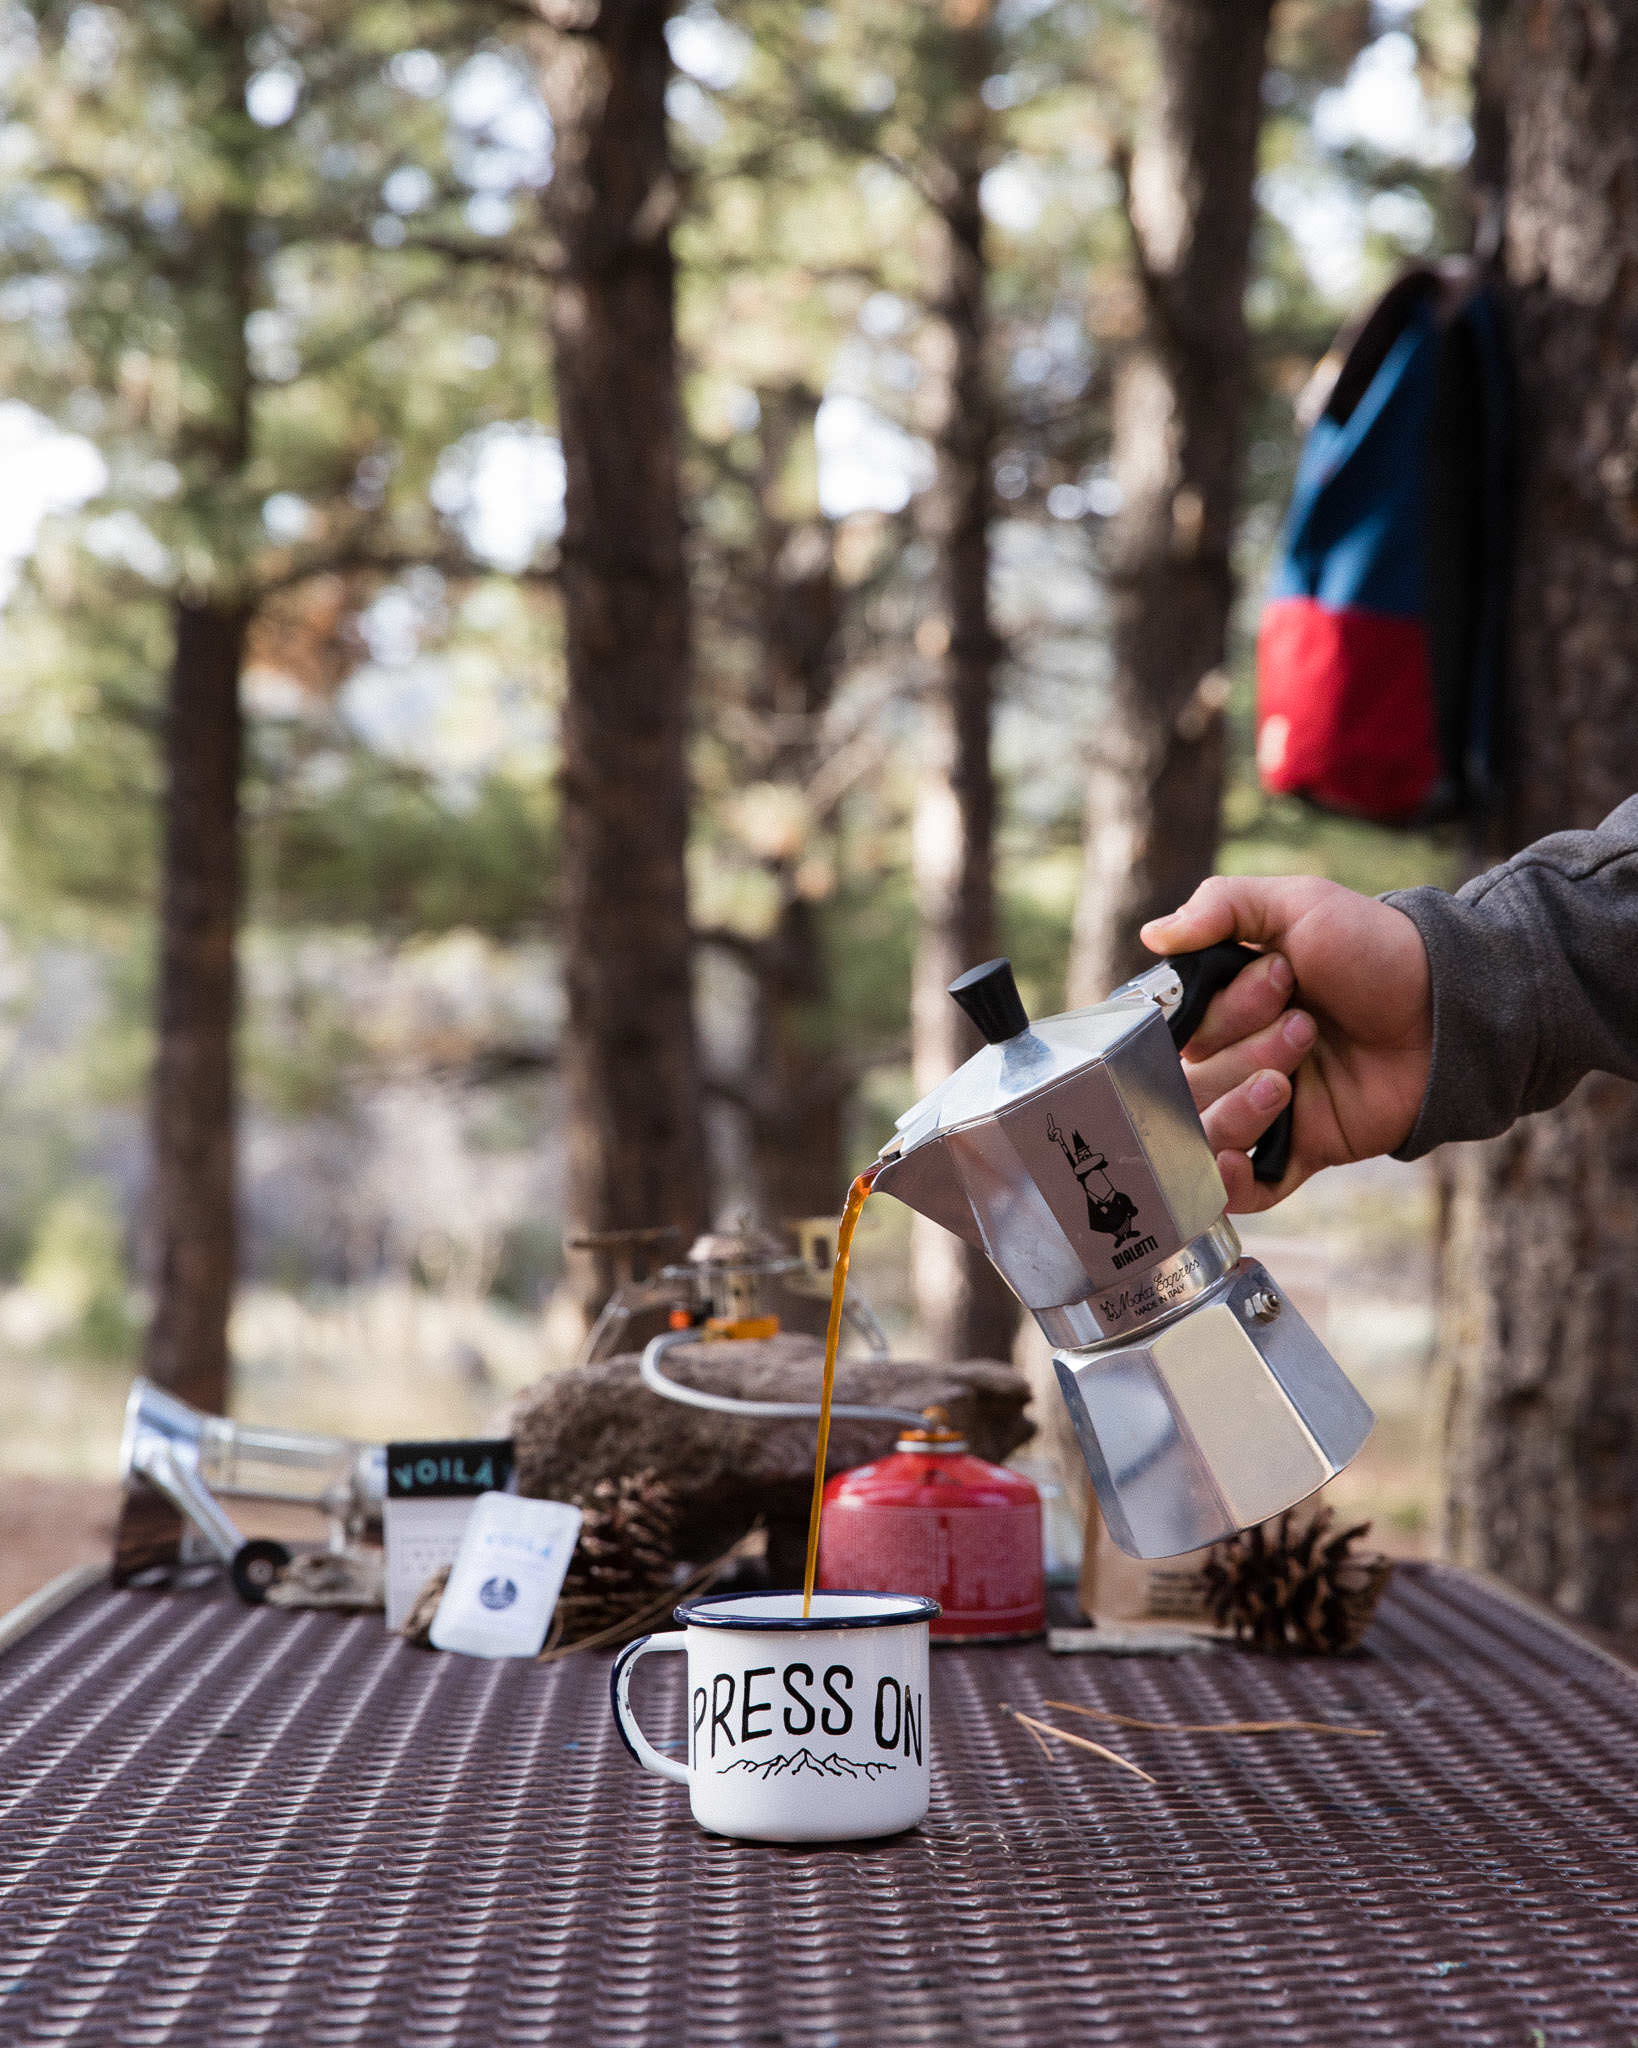
The idea behind the ice bath was the immediately halt the process of extraction. If you just pour the coffee as soon as it’s done brewing however, you pretty much remove the need for that step. Don’t misunderstand me, you still need to stop extraction immediately. The hot aluminum and pressure from the steam in the boiler will continue to cook your coffee and could lead to a burnt or overly bitter flavor. So pour it quickly and you can avoid the ice bath.
Brewing Tips
Patience is a Virtue
The coffee industry can’t seem to agree on whether to use hot or cold water in the boiler. From my limited taste tests, I find cold or room temperature water produces slightly sweeter coffee. However, that means you need to have some patience. The Moka Pot works best when kept on low to medium heat. Be prepared for a 5-10 minute total brew time.
Don't be Greedy
Learn when to remove the Moka Pot from heat and stop the extraction. If you wait until no more coffee flows out of the spout, you’re gonna be sorely disappointed with your liquid charcoal. Plus, you’ll never actually get all of the water out of the bottom (thanks physics), so you might as well stop while you’re ahead!
Moka Pot Updated Brew Guide
At a Glance
- Ratio - 1:12 (22g:264g, coffee:water)
- Grind Size - Fine, Handground 1
- Butane camp stove on low
- Double filtered with Aeropress filters
- Turn off heat when coffee “blondes”
Prepare
- Add your water to the fill line in the boiler (bottom section). If your boiler doesn’t have a fill line, stop filling just below the release valve.
- Place the boiler on a scale for an extra amount of accuracy. I especially recommend doing this the first time.
- Weigh out your beans and grind on the finest setting, like you would for espresso
- If this is your first time with your particular moka pot, divide the weight of your water by 12 and round up to get the measurement for your beans
- Place the filter basket inside the boiler.
- If water comes out of the basket, you’ve added too much water.
- Place an Aeropress filter on the bottom of the filter basket and rinse.
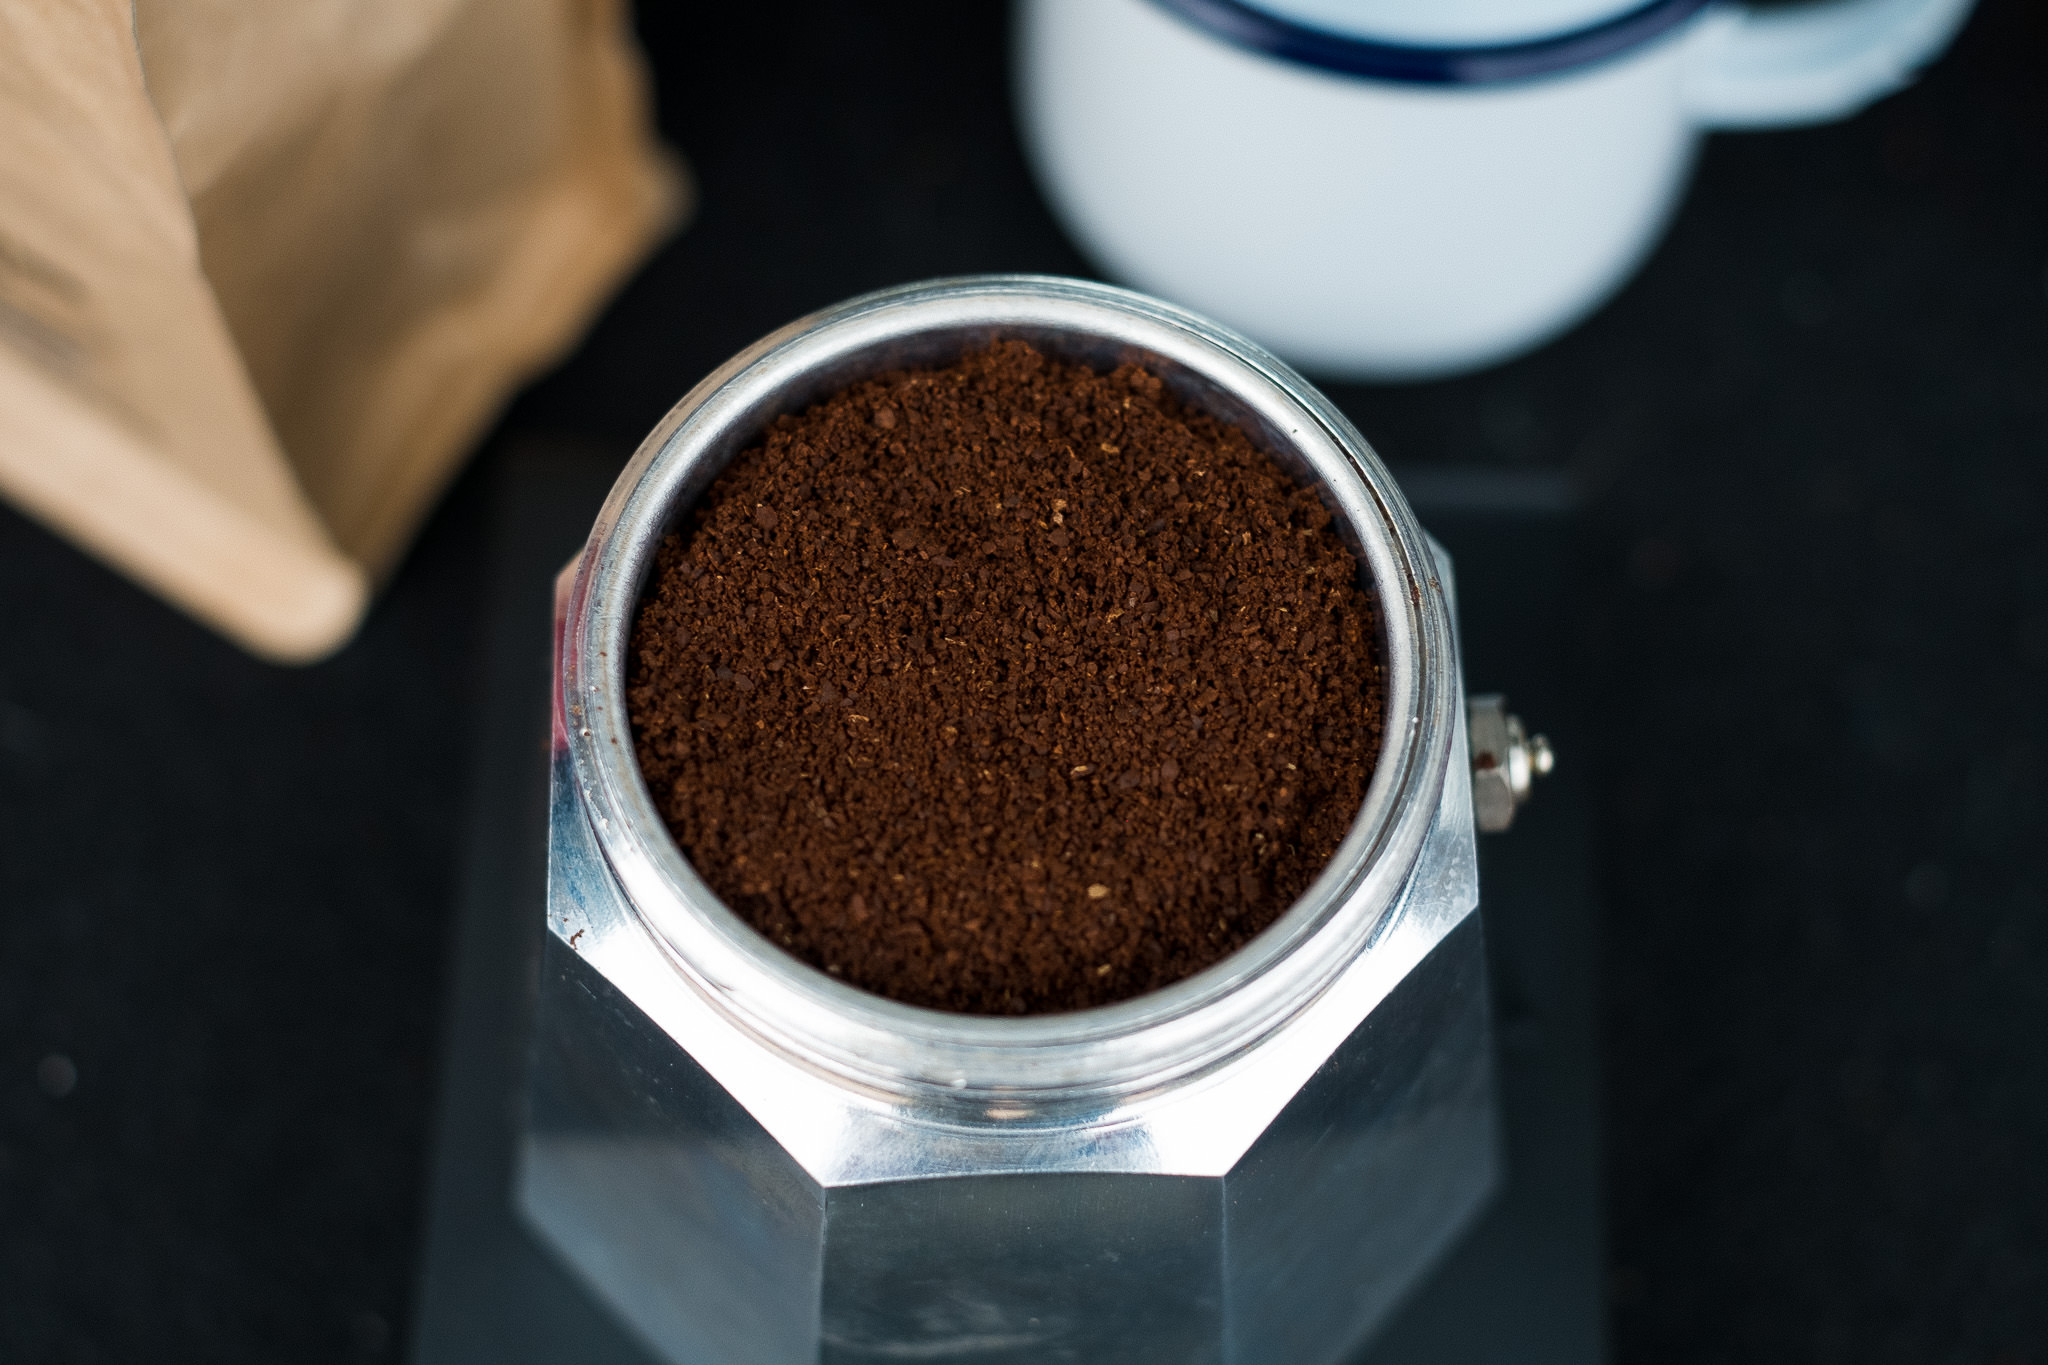
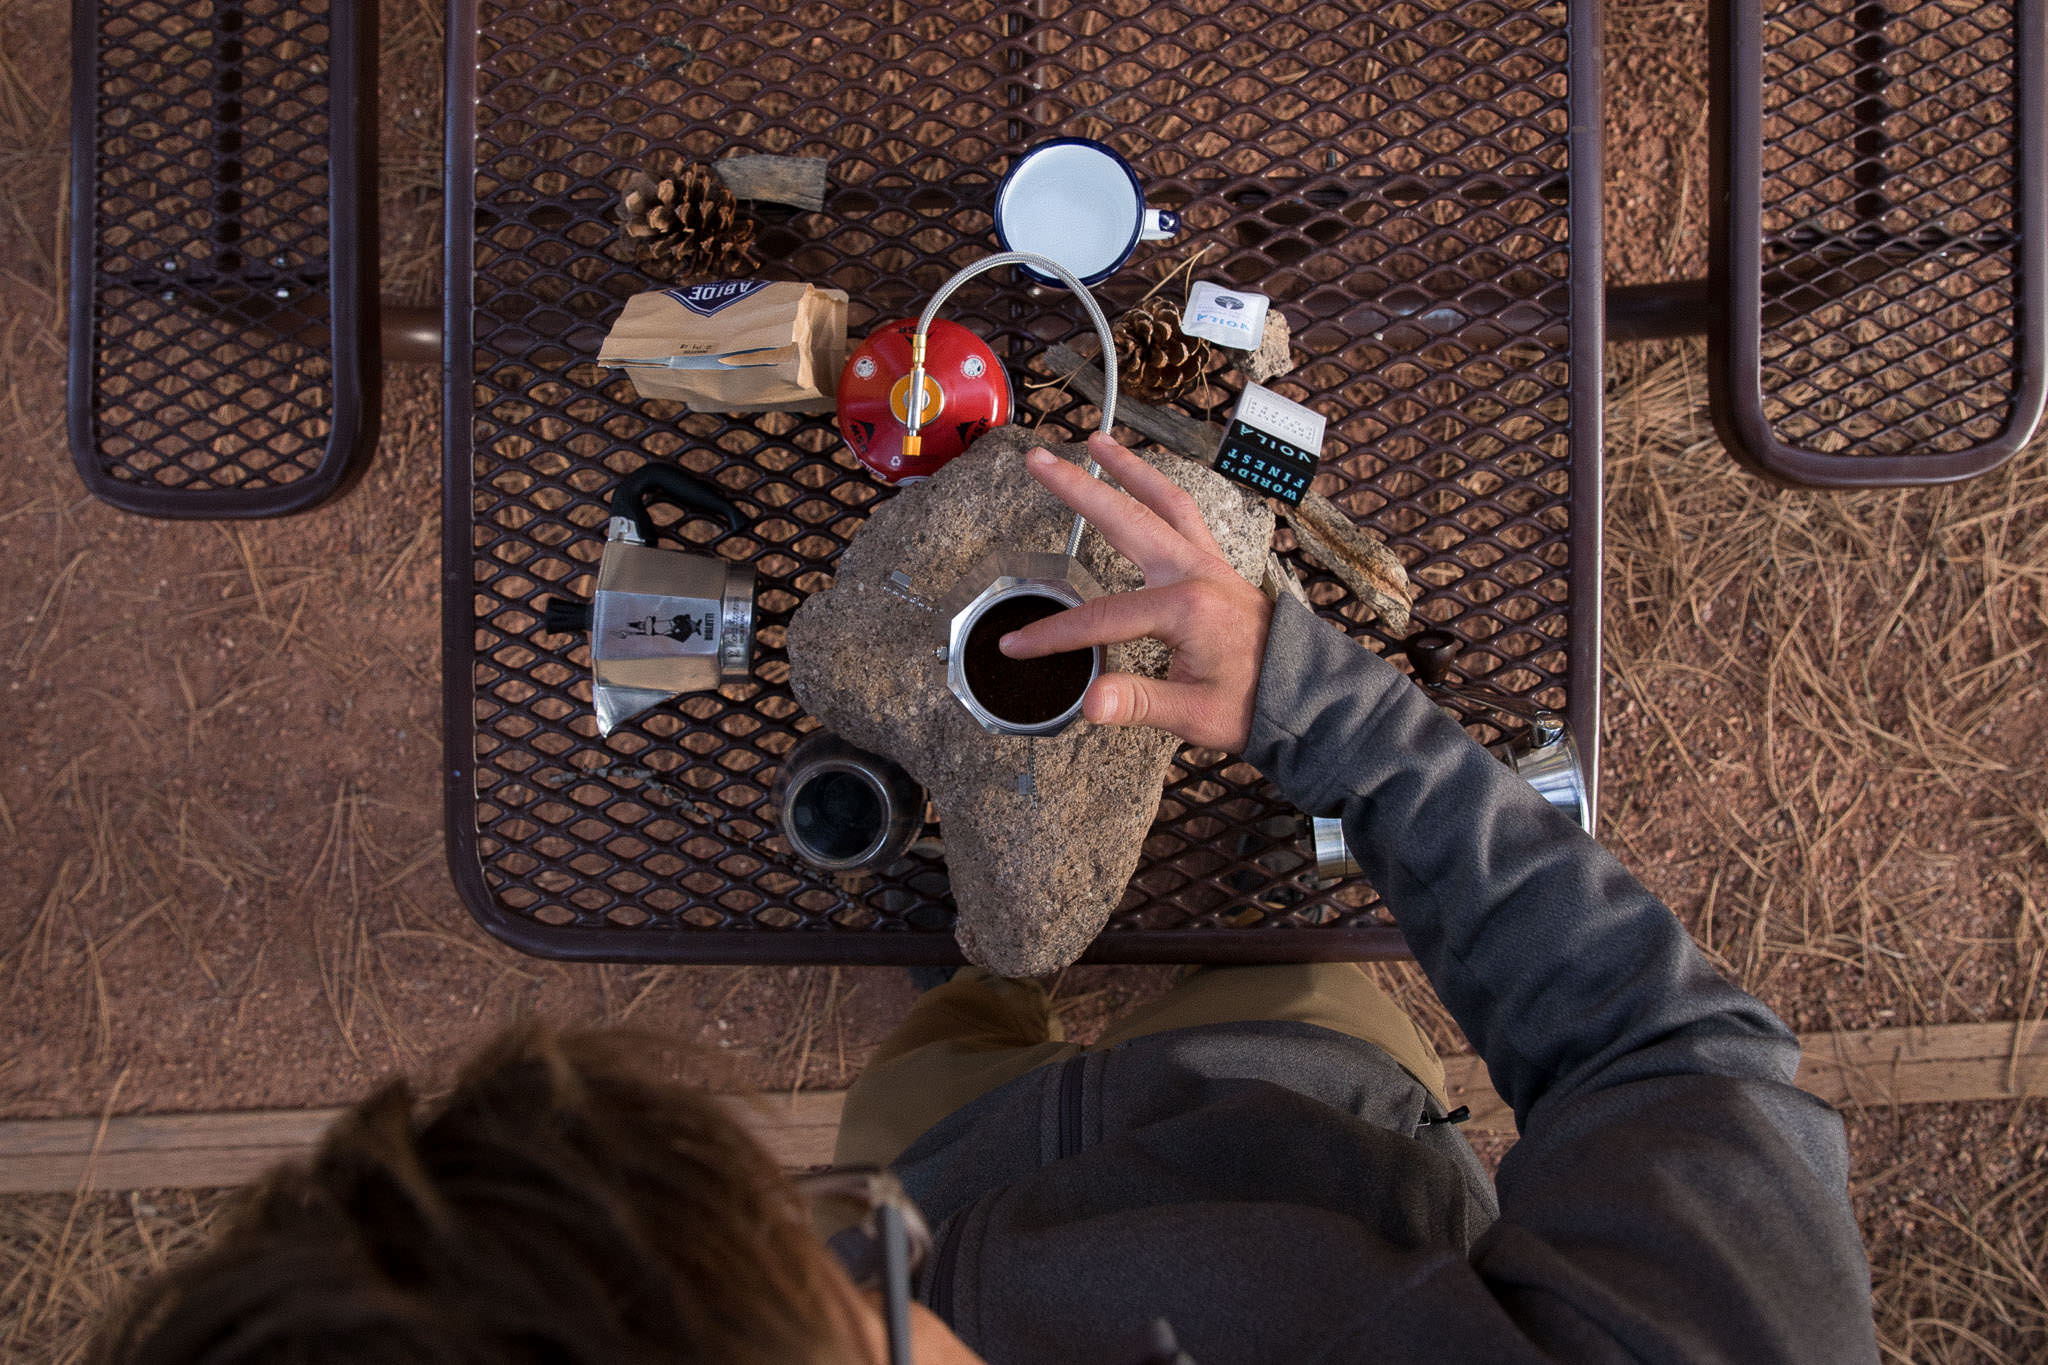
- Add the ground coffee to the filter basket.
- Wet an Aeropress filter and stick it to the gasket underneath the upper chamber.
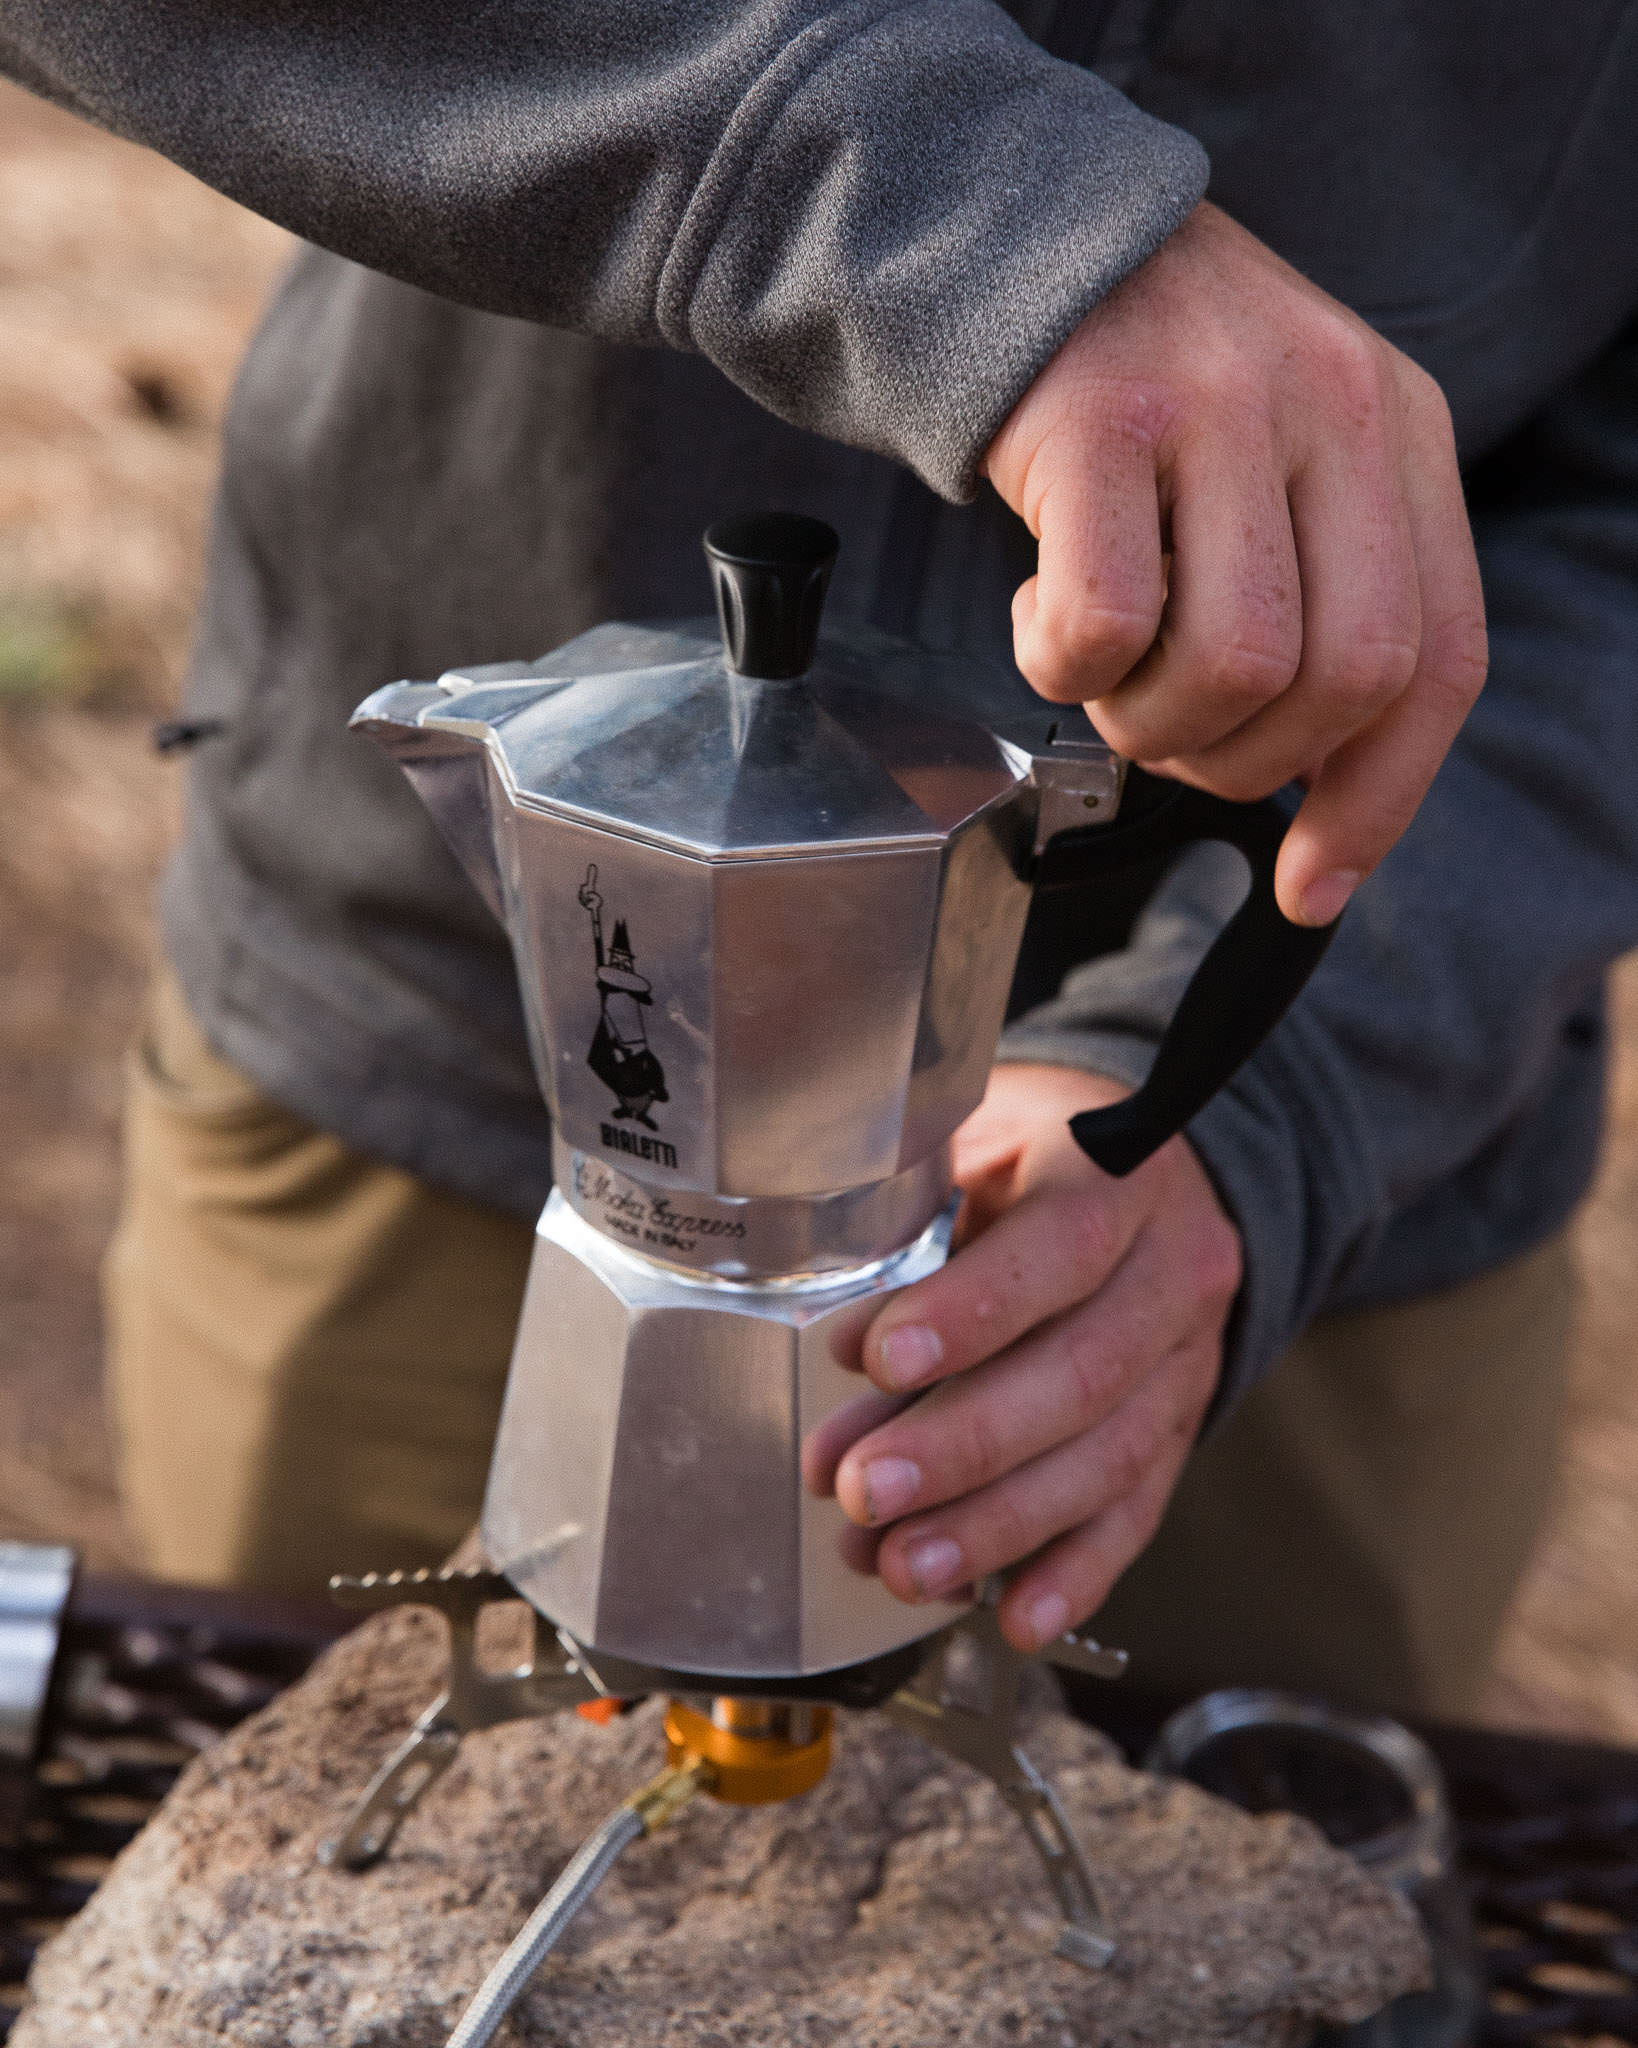
- Screw the top chamber
- Make sure you don’t have any grounds on top of the basket or around the outside, a tight seal is essential to a good extraction
Brew
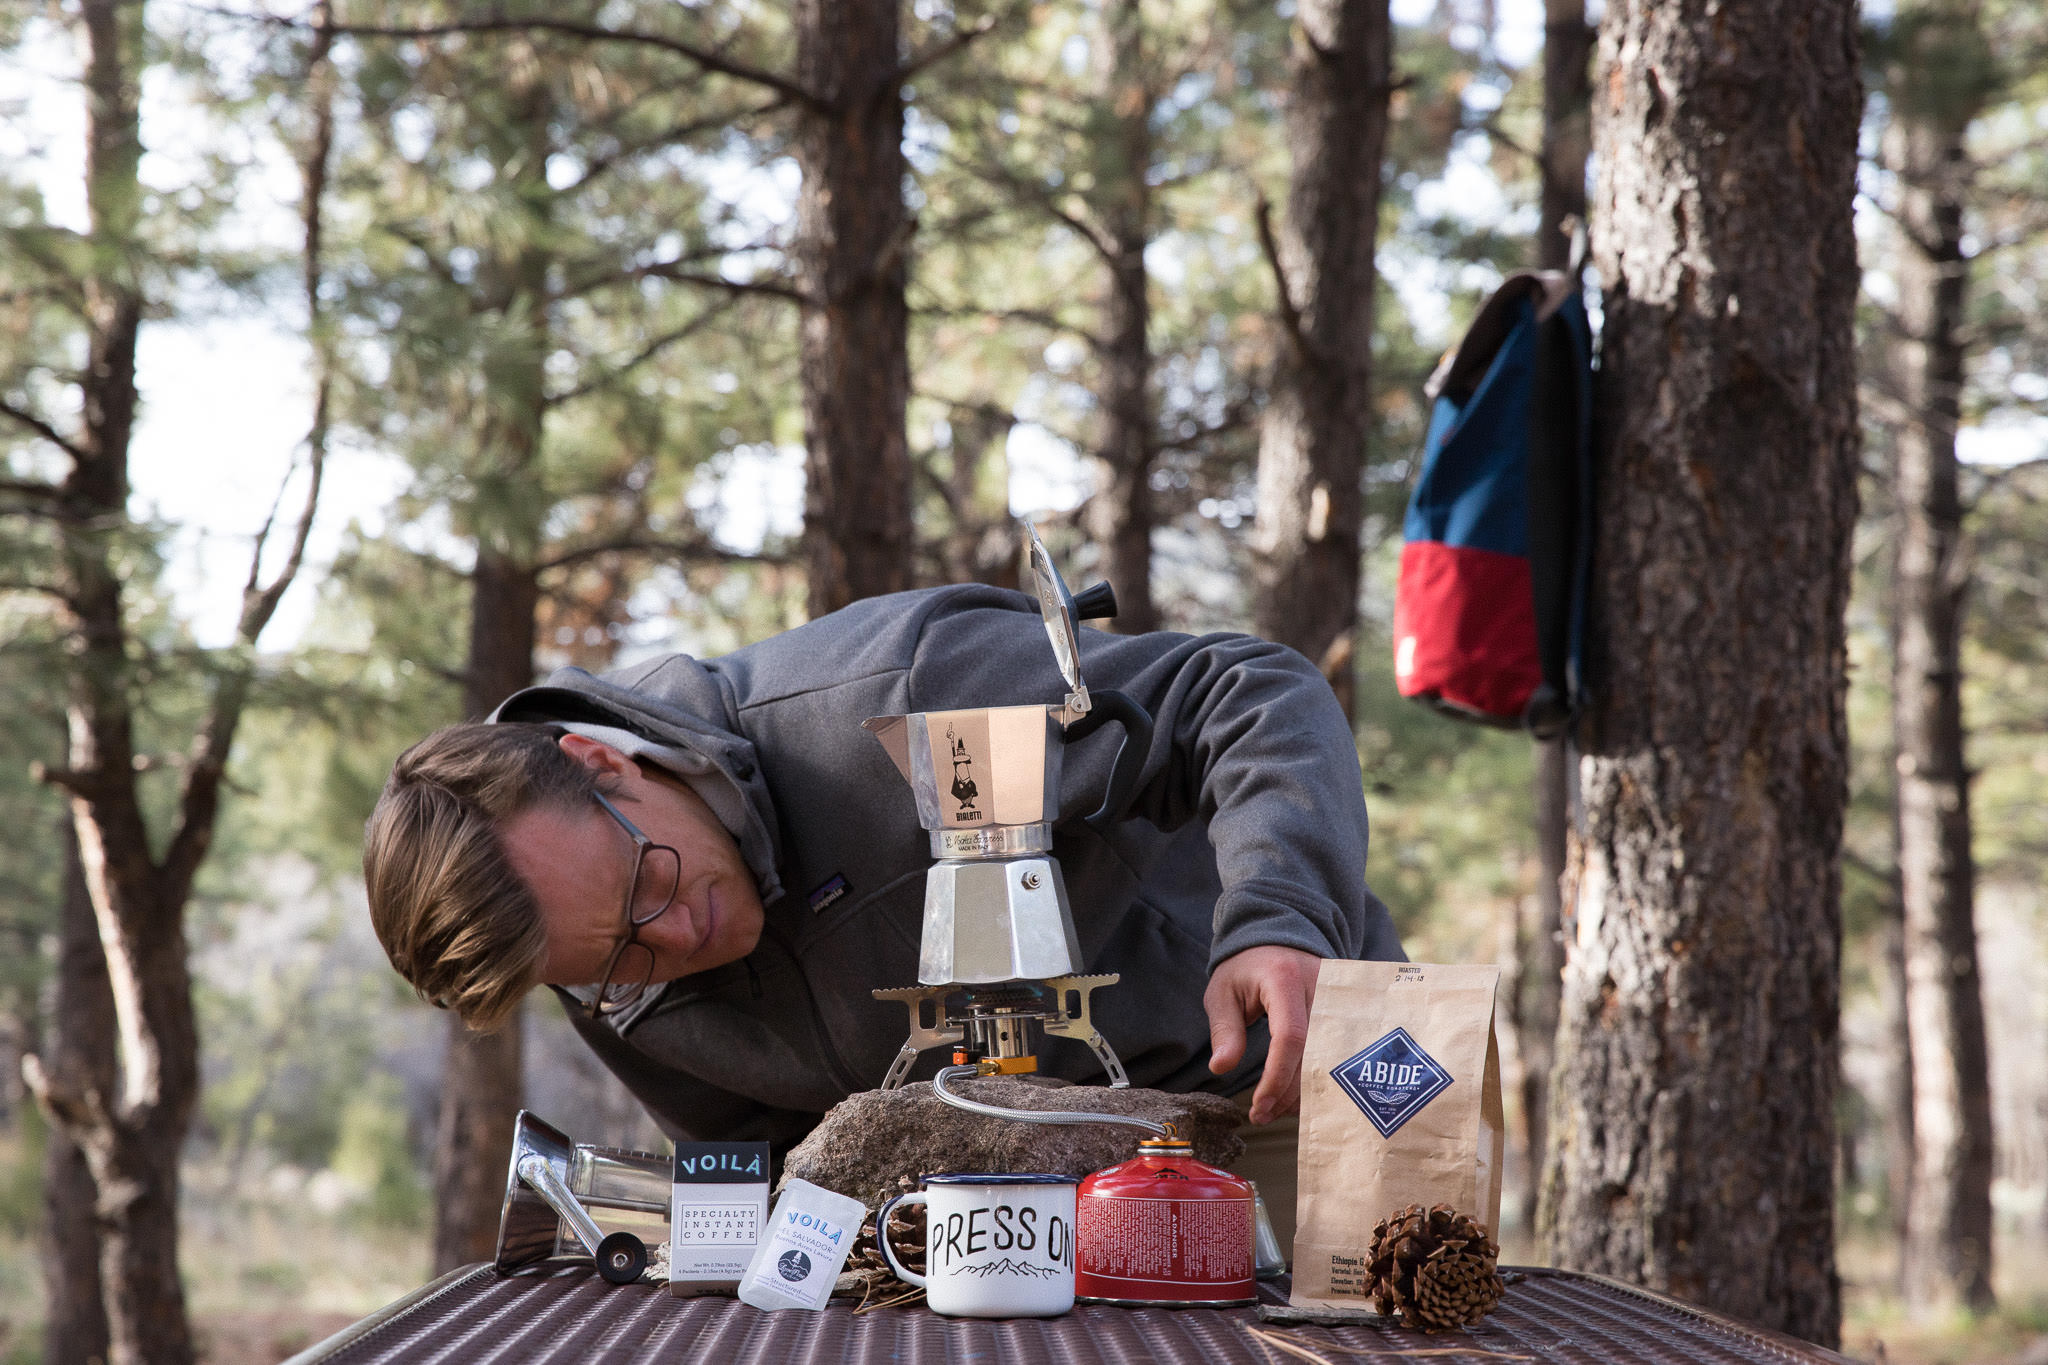
- Center your moka pot on your heat source and turn it on low
- The heat should stay contained within the bottom of the moka pot
- Lift the lid and wait.
- After about 5 minutes, the coffee should begin to into the top chamber
- The stream should be steady and methodical. If it explodes out, turn down your heat. If it gurgles up lethargically, increase your heat.
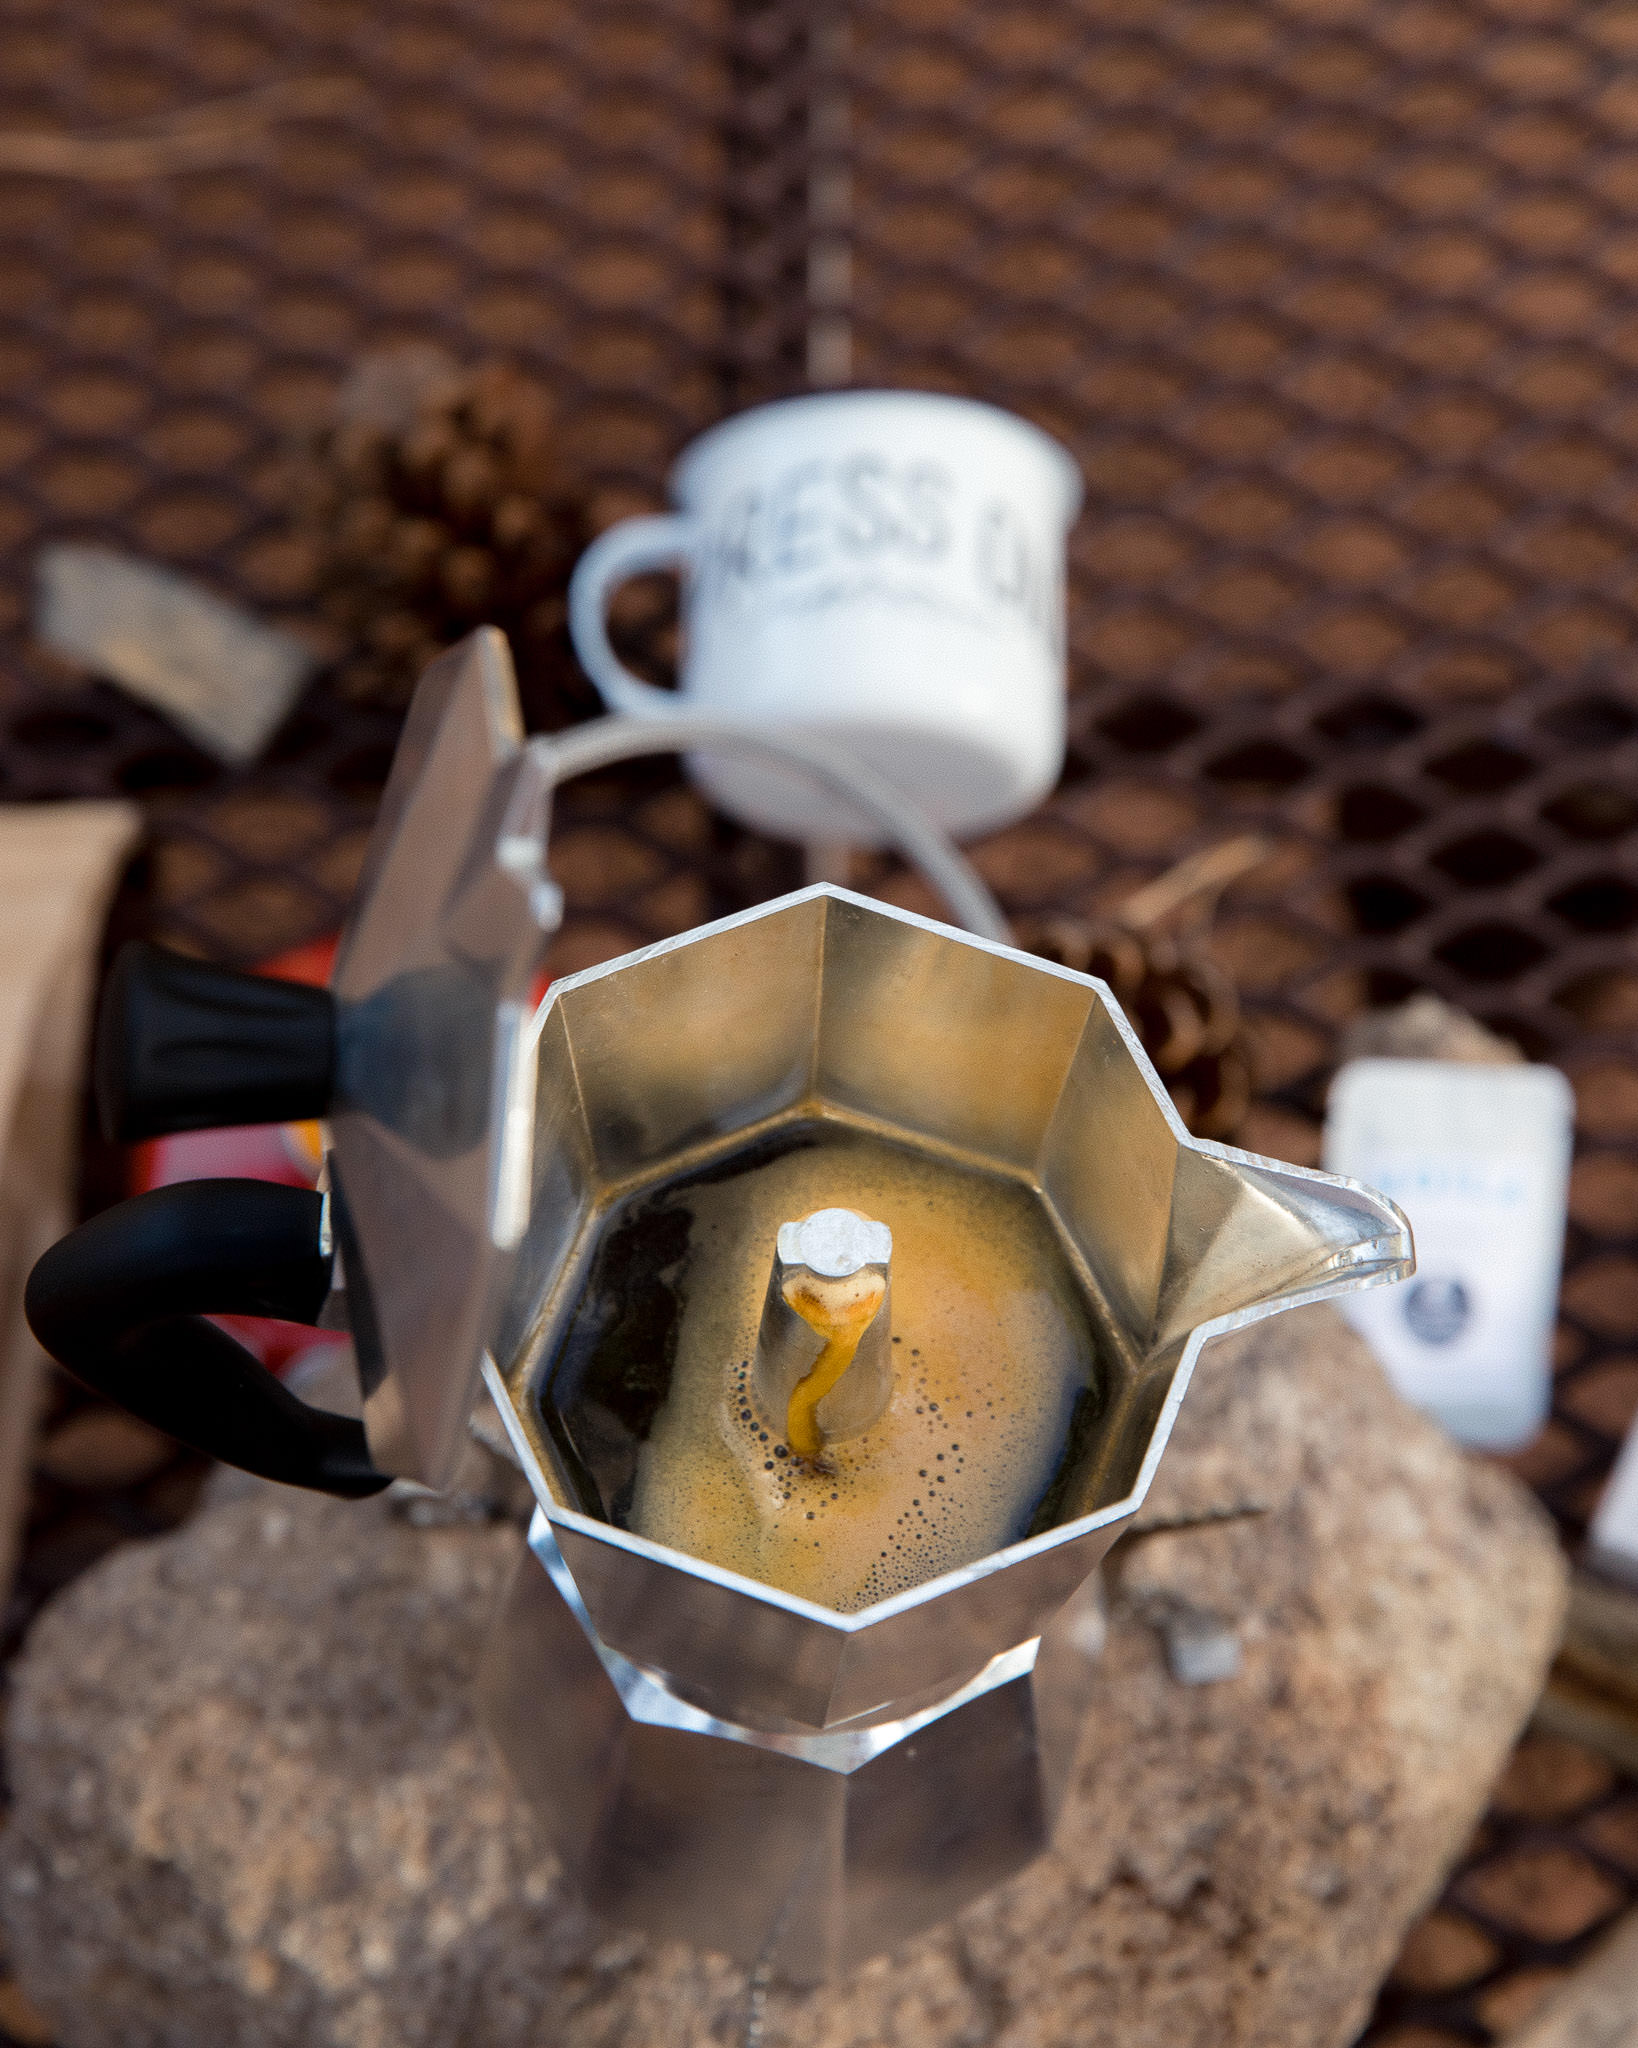
- Watch the color of the stream carefully, when the color begins to lighten remove the moka pot from the heat.
- This should begin as coffee fills to just below the pour spout
- Close the lid when the stream begins to gurgle and bubble, then serve as soon as possible
Enjoy and Adjust
Thanks to all of the variables involved, like heat source, moka pot size, starting water temperature, I recommend paying close attention to your results and adjusting as needed.
- Did the coffee taste sour? Try grinding finer or slightly reducing the heat.
- Did the coffee taste bitter? Try grinder coarser or slightly increasing the heat.
- Did the coffee taste burnt? Try removing the moka pot from the heat sooner. Also, make sure you either serve the coffee or move it to an insulated carafe as soon as possible.
The Giveaway
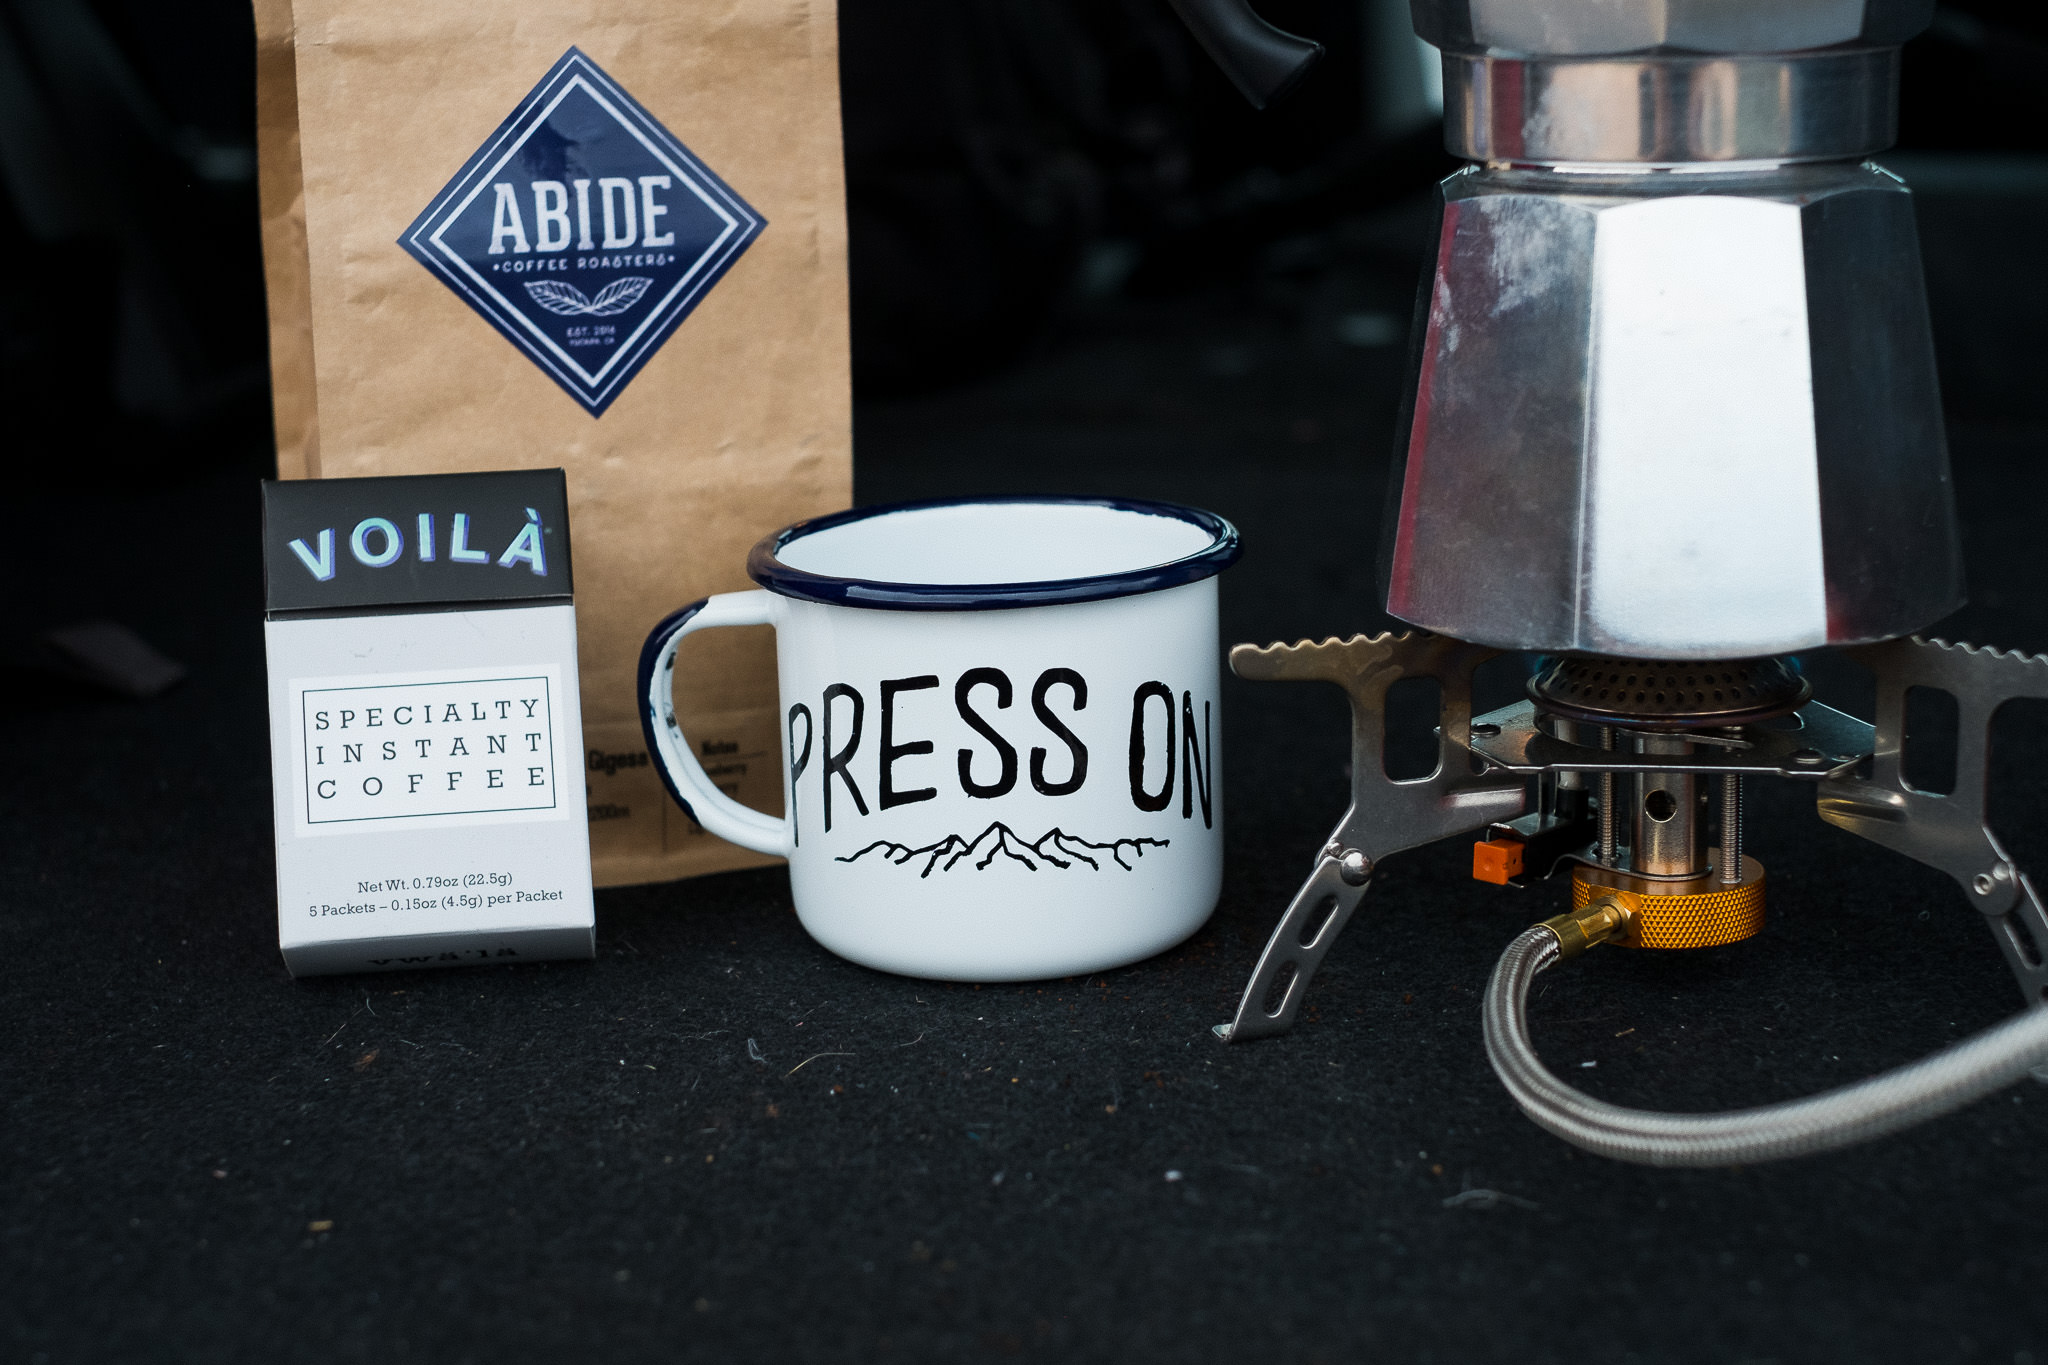
Want a Moka Pot? I’m giving one away along with some other awesome coffee stuff! I’ve partnered with Granite Creek Coffee Collective, Abide Coffee Roasters, and Voila Coffee to bring you an awesome lot of gear. Head to the giveaway page for instructions on how to enter!
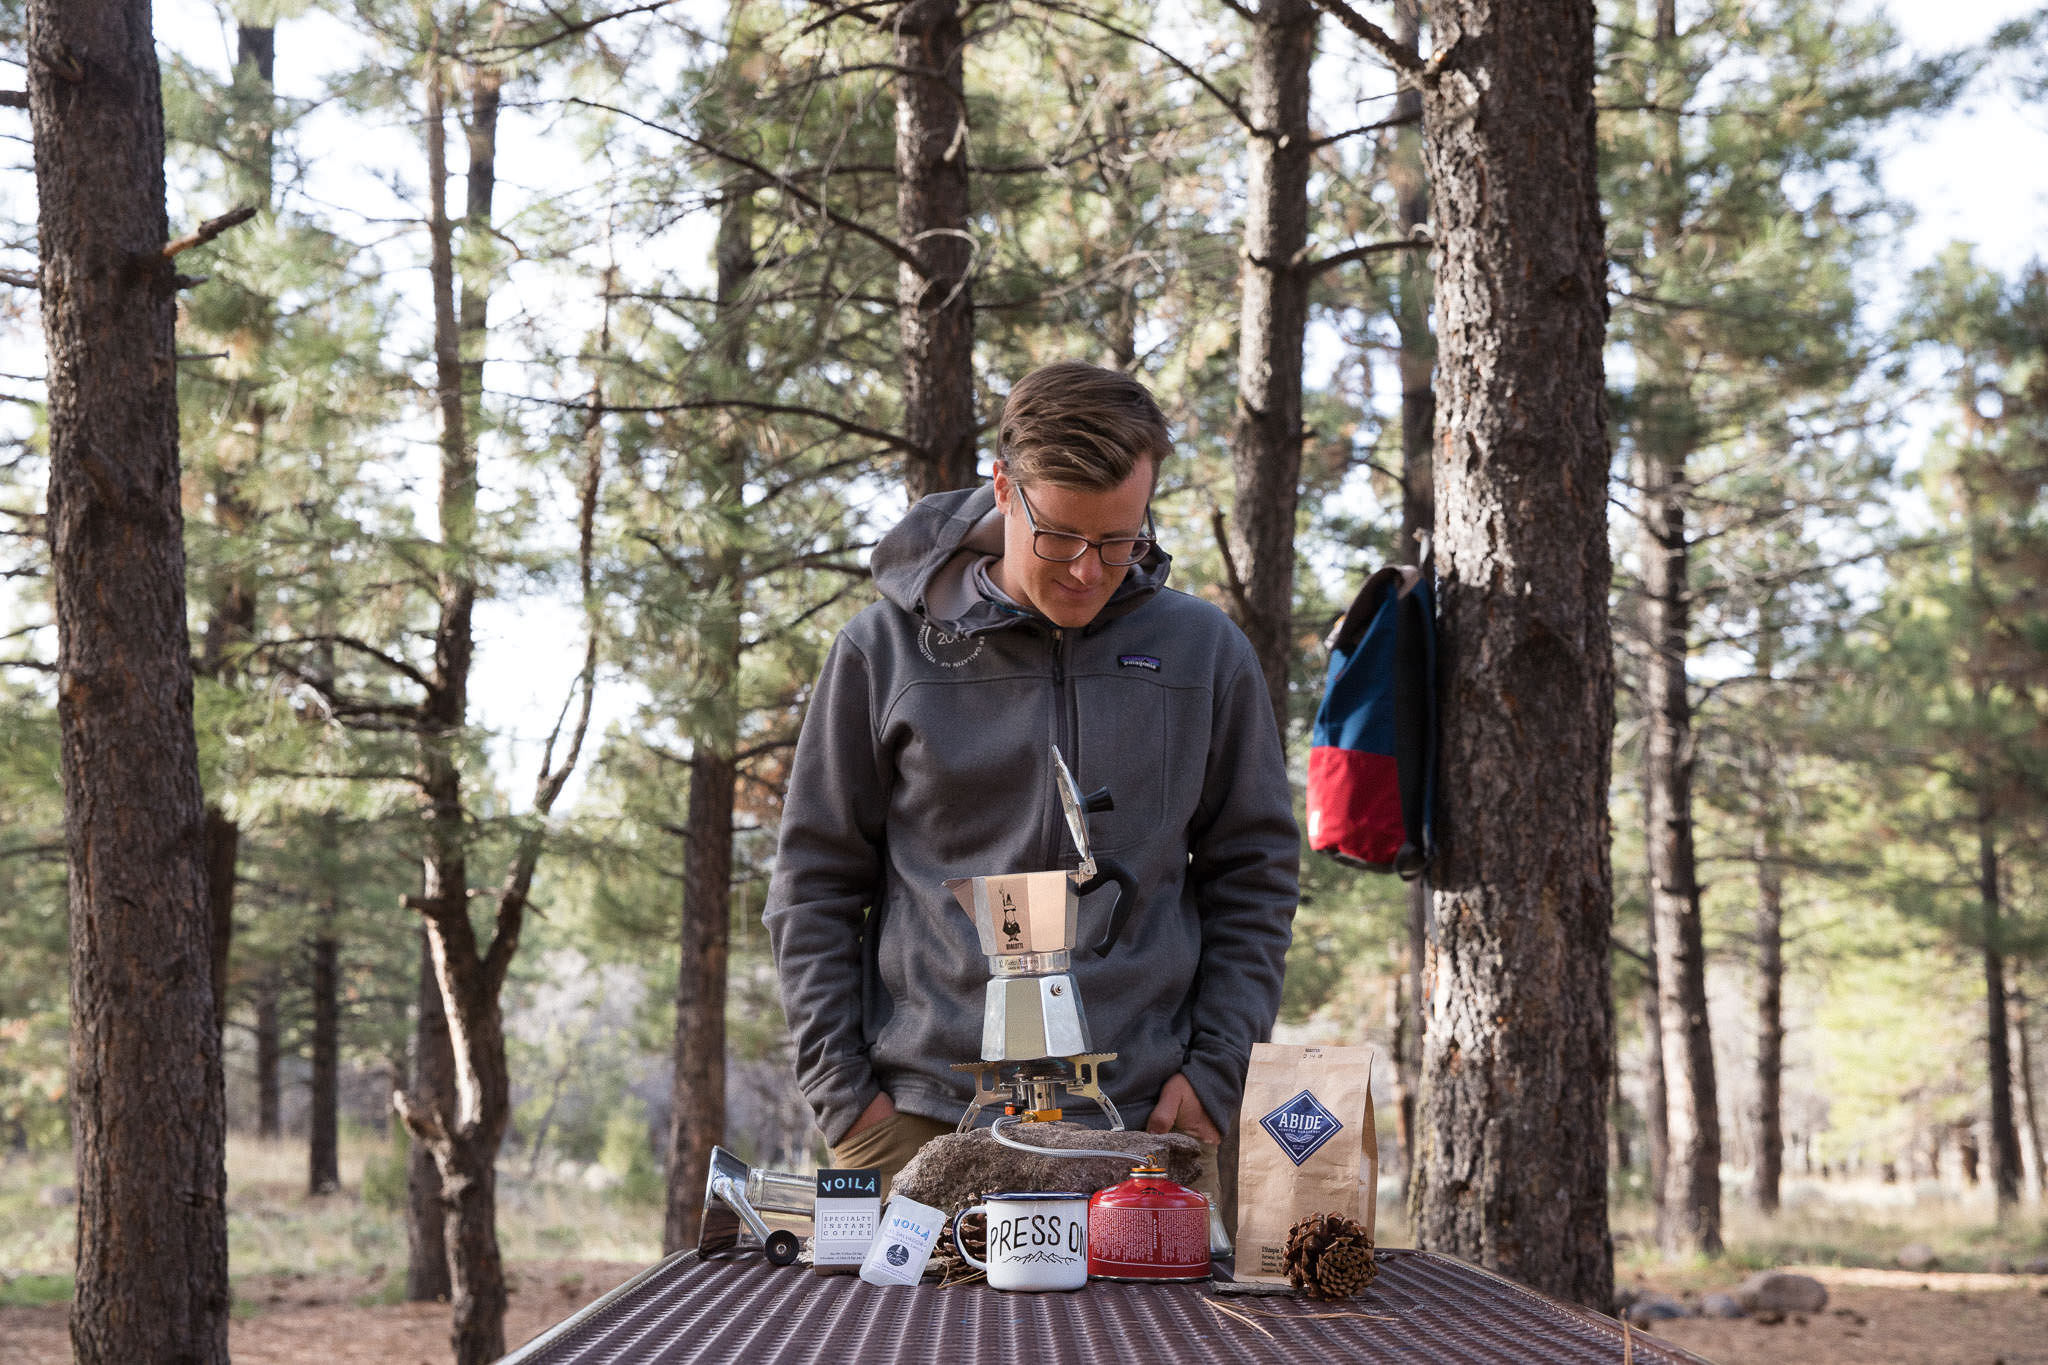
Special thanks this week to Derek for sharing your recipe with me and for always being down for an adventure, and to Zach for letting us photograph you making coffee for us!
Thanks for reading! If you have your own tips and tricks or Moka Pot recipe, drop 'em in the comments below! Have questions or ideas for future content? Shoot me an email or send me a DM on Instagram!
As always,
Keep Coffee Handsome
Get the Gear. Support the Blog.
This side-project provides supplemental income that basically just feeds my coffee habits, and in turn helps me provide even more quality coffee content. Using the links below don’t cost you anything extra, but they swing me a little commission from whatever you buy. Thanks for your support!

